Before Cooking A Grilled Cheese, Don't Make These Mistakes
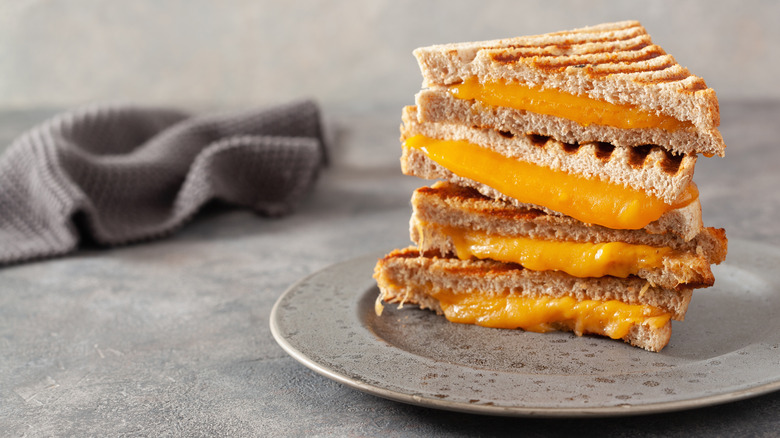
The feeling you get when you bite into a grilled cheese sandwich that is perfectly crispy on the outside and ooey, gooey cheesy on the inside is indescribable. In theory, making a grilled cheese sandwich shouldn't be that complicated. The recipe only calls for a few ingredients, and all you need to do is toast the bread and melt the cheese between the two slices. However, making a grilled cheese sandwich is more of an art than many people realize.
It is easy to make a mistake when preparing your sandwich. A misstep could result in all sorts of problems, from a burnt sandwich, one that is stuck to the pan, a hard, unmelted slice of cheese between the two slices of bread, or a finished entrée that is lacking in flavor or texture. Who wants to make a sandwich that matches any of those descriptions? Spare yourself a catastrophe by taking just a few minutes to learn about some of the most common grilled cheese-making mistakes and what you should do instead.
Always using the same type of bread
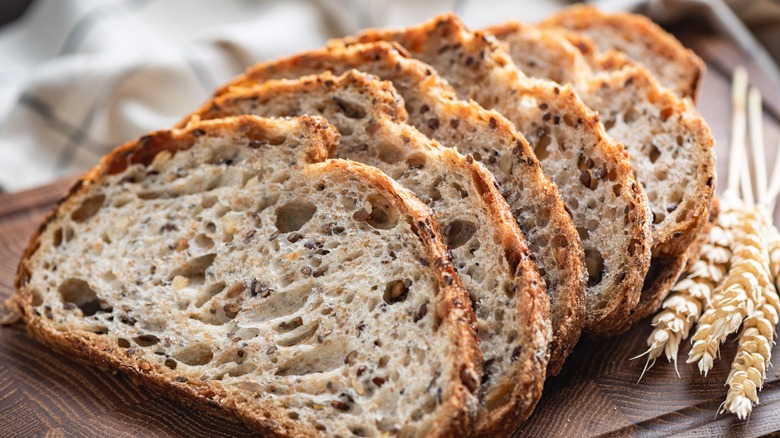
As the saying goes, variety is the spice of life. Always using the same type of bread for your grilled cheese means you're missing out on the flavorful combinations that other types can deliver. For example, a grilled cheese on rye will have more of a sour flavor, while a sandwich made on brioche will offer a lighter and sweeter profile.
There are lots of great bread choices when it comes to making grilled cheese. To make your taste buds do a happy dance you'll want to experiment with different bread and cheese options to find the perfect combination. A few bread types you might want to try include sourdough, brioche, pumpernickel, ciabatta, French bread, and whole wheat. Beyond the different flavors they'll impart on the finished sandwich, each variety will offer a different texture, further adding to the overall experience. For example, a sandwich made with sourdough will be chewier, while one made with ciabatta bread will have a crispier and crustier outer layer for your teeth to cut through.
Choosing the wrong type of cheese
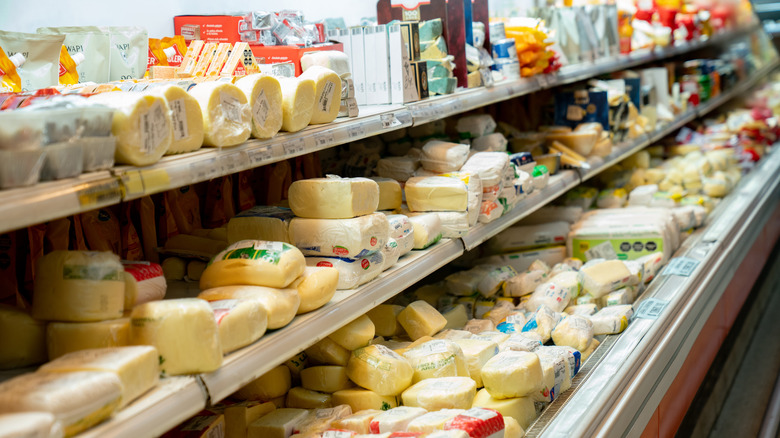
While many types of cheese can help you craft a melty and scrumptious grilled cheese sandwich, not all varieties are created equal. You'll want to stay away from a few types of cheese because they won't melt properly. Save your hard cheeses, such as Parmesan, for other uses. Similarly, stay away from feta or goat cheese when preparing grilled cheese. These crumbly and dry cheeses won't melt, leaving you with an unappetizing sandwich.
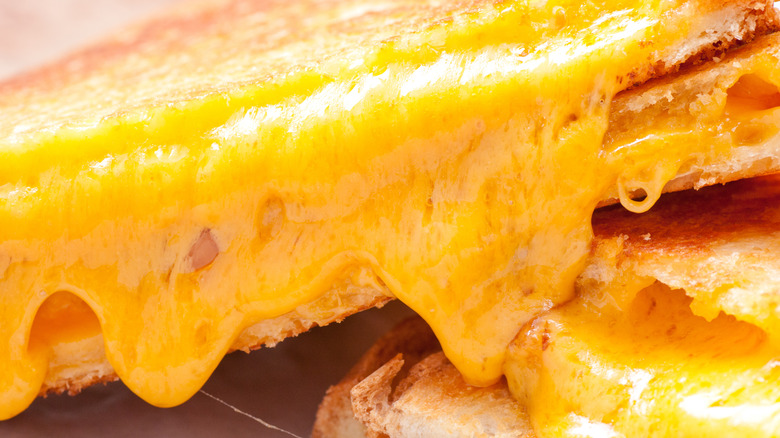
So, what should you use? Fortunately, with so many varieties of cheese, you'll find several delicious options to consider. Cheddar, Fontina, American, Gruyère, Gouda, provolone, and Swiss are some of the most popular picks for grilled cheese. These cheeses melt nicely and leave you with a creamy center for your sandwich. You could even try a stinky cheese, such as Limburger, so long as it melts nicely. While Velveeta isn't technically cheese, it melts beautifully and will also help you create a smooth and creamy sandwich.
Adding too little or too much cheese
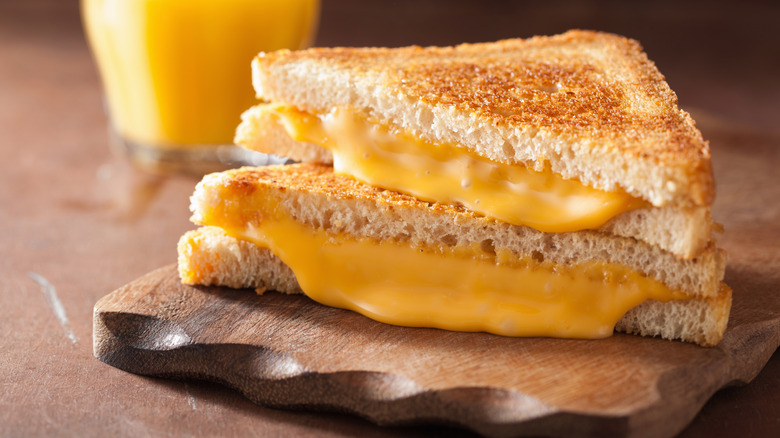
If you want your grilled cheese sandwich to taste just right, then adding the correct amount of cheese is essential. If you don't add enough cheese, the resulting sandwich could taste more like buttered toast. However, going overboard with the cheese isn't a good idea either, as it will overpower the flavor of the bread. It will also be more likely to slide off the bread or down onto the pan when cooking. The excess cheese — along with your sandwich –may end up getting burnt.
Unfortunately, there isn't any formula for how much cheese to use for grilled cheese. The ideal amount can vary depending on how large or thick the slices of bread are. Aim to use about ⅓-cup of cheese for a standard-size sandwich as a starting point. This will typically translate to about two slices of cheese. However, depending on how thick or thin the slices are, you might need slightly more or less than this general recommendation.
Not toasting the bread first
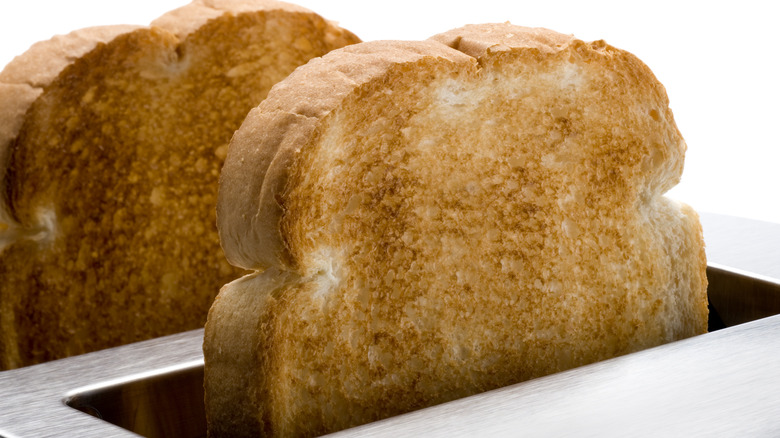
Failing to toast the bread before making a grilled cheese sandwich is a mistake you will regret. Many assume that the heat from the pan as the sandwich cooks will be sufficient to toast the bread for the sandwich, but unfortunately, this isn't the case. First, the side of each slice in the middle of the sandwich never comes into contact with the pan, so it won't get toasty and may even turn out a bit soggy. And, the other side of each slice that is touching the pan likely won't crisp up enough either,
So, the ideal solution is to toast each slice of bread before putting together the sandwich. Just be careful when choosing a setting on the toaster. The outer layer of the sandwich will continue to crisp up and darken as it cooks, so avoid leaving the bread in the toaster for too long. Ideally, you want it lightly toasted, just to the point that the bread turns light brown in color.
Failing to butter the bread
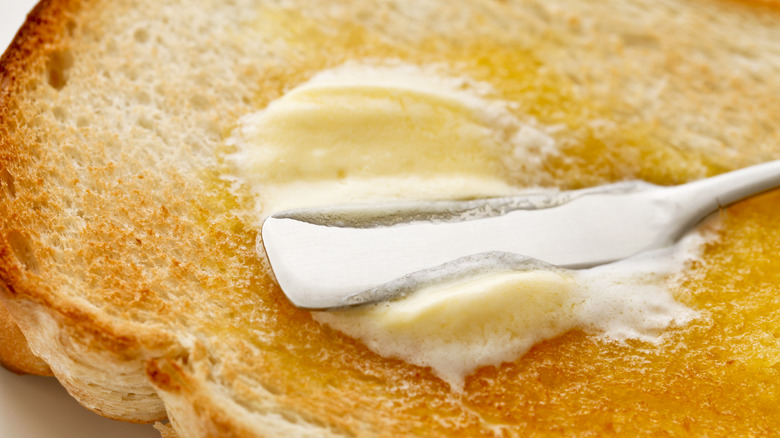
Butter is your friend when it comes to making a grilled cheese sandwich. It is essential for a few different reasons. First, how will you craft a buttery and delicious sandwich without butter? Second, the melted butter will help ensure that the bread crisps up nicely while also helping to keep it from burning or sticking to the pan.
You can either soften your butter enough to spread on both sides of the bread by bringing it to room temperature or melt it in the pan and move both sides of the bread through it to coat them thoroughly. If you're in a pinch and don't have enough butter, a substitute may be sitting in your fridge right now: mayo. Mayonnaise will alter the taste of the sandwich, making it a bit less rich and slightly more tangy. However, it will do an excellent job of helping the outer layer of the bread to brown nicely.
Cooking at a high heat
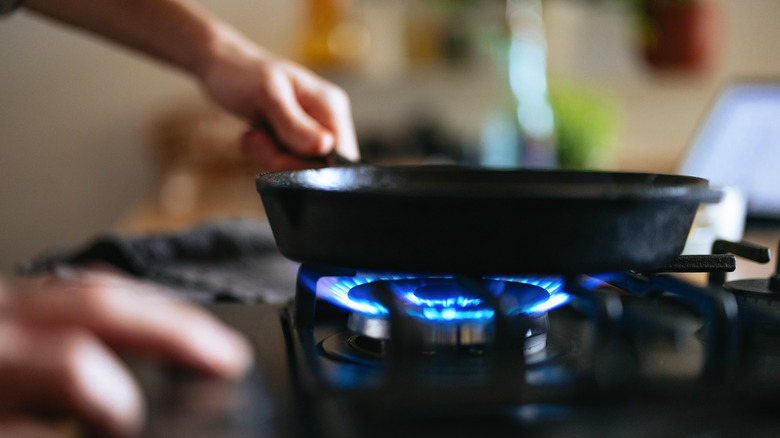
It can be tempting to cook your grilled cheese sandwich at a high temperature for expediency, especially if you are hungry. However, doing so will be a mistake you'll likely end up regretting. The problem with using a heat setting that's too high is you'll end up browning the bread more quickly than the cheese between the two slices is able to melt. This means you'll either end up with burnt bread or a layer of cheese that is still solid. If neither of these sound like good options — which they shouldn't — don't rush the process.
When turning the burner on, set it to medium or medium-low to avoid cooking the sandwich too quickly. If you're using an electric griddle, 300 degrees Fahrenheit on the temperature dial should be about the equivalent of medium heat. Preheat the pan or griddle before putting your sandwich on it to cook. Once preheated, it should take between 2 and 4 minutes per side for the cheese to melt and the bread to crisp up.
Leaving the lid off the pan
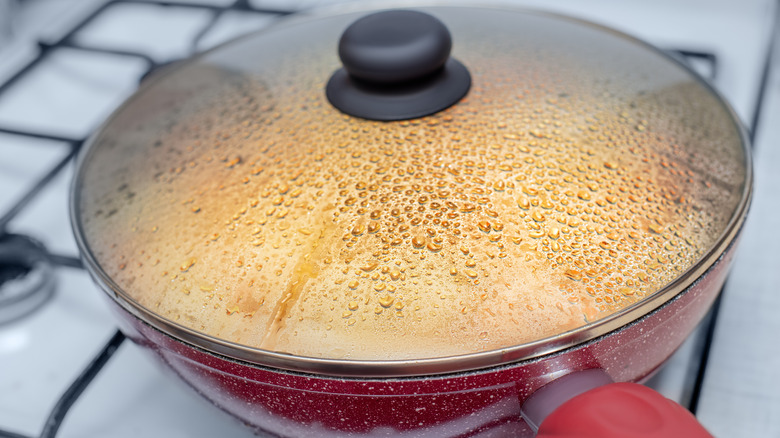
Many people only pull out half of the necessary cooking tools when preparing a grilled cheese sandwich. If you grab a frying pan but not the lid, you are among the people who make this common mistake. That's right, you'll want to cover the grilled cheese sandwich with the lid as it cooks if you want it to have a melty center and a perfectly crisp outer layer.
The reason behind this is relatively simple. The lid traps heat and steam in the pan, allowing the cheese to melt more quickly. Once your sandwich is covered, cook for 2 or 3 minutes on each side, or until the bread is golden brown. If you try to prepare the sandwich without using the lid, you're much more likely to end up with cheese that isn't melted or bread that is burnt to a crisp on the outside.
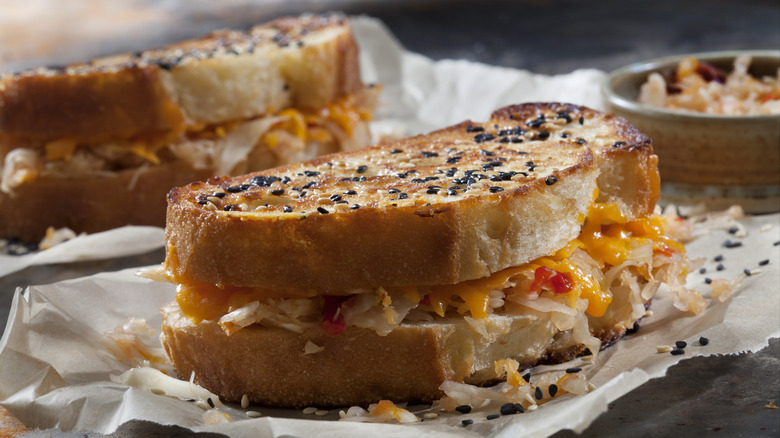
Not considering other filling additions
Sure, there is nothing wrong about only placing cheese between the two slices of bread when you make your sandwich. However, if you always limit yourself to a plain grilled cheese, you'll be depriving yourself of the opportunity to experience how other flavors can upgrade the sandwich.
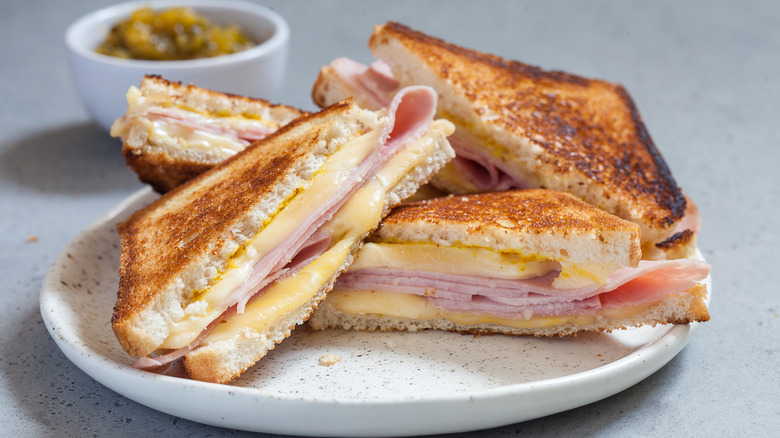
There are many ways to give a plain ol' grilled cheese a facelift; most are quick and easy. One idea is to add some meat to the mix. Ham and bacon are two of the most common choices, but you could also try turkey, roast beef, or pulled pork. Veggies, such as mushrooms, tomatoes, peppers, and onions, can take the flavor up a notch while making the sandwich just a tad healthier. If you're feeling adventurous, other additions, like raspberry jam, pesto, and pepper jelly. And, if you haven't tried it, adding scrambled eggs to a grilled cheese sandwich will transport you to another dimension with each bite.
Not adding spices or seasonings
If you want to make an upgraded, adult version of a grilled cheese sandwich, turn to your spice rack. Adding some seasonings or spices to the sandwich will give it a unique flavor and make it stand. You can try many different seasonings, but you'll likely need to experiment until you find the combinations that you like the best. Some ideas to get you started include fresh pressed garlic, oregano, basil, or thyme. If you like spicy foods, then you may want to try red pepper flakes, chili powder, Old Bay, or Cajun seasoning.
The trick for this hack is knowing how to season the sandwich. If you sprinkle the spices on the bread or the cheese, they'll likely fall off in the pan or get burnt. Instead, make a compound butter using your preferred seasoning(s), and use it to butter the bread. This will integrate the flavors you're looking for while ensuring the sandwich cooks as it should.
Not using the waffle maker

Grilled cheese is one of those surprising dishes that you can cook in a waffle maker. When you take a moment to think about it, you'll realize what a good idea it is. Waffle makers are heated on both sides, which means they'll crisp up the top and bottom of bread slices while the cheese is melting. Preheat your waffle maker before putting the assembled sandwich between the hot grates and let it cook for a few minutes (the time will vary based on the thickness of your sandwich and the type of waffle maker you have, so you'll want to check on it periodically).
But here's the real reason you should be excited to make your grilled cheese in a waffle maker: the scrumptious crevices that the hot waffle iron imprints into the bread. You'll experience a three-dimensional crunch with each bite of the sandwich. These extra nooks are also perfect for those who enjoy dipping their grilled cheese into a hot bowl of soup; they'll capture more of the soup for each bite.
Not using the air fryer

The air fryer is another versatile kitchen appliance that shouldn't be overlooked when deciding how to cook a grilled cheese sandwich. Cooking grilled cheese in the air fryer offers a simple, hands-off solution that will yield a hot, cheesy, and crispy sandwich. What's not to love?
Start by assembling the sandwich as you would cook it on the stovetop: Butter both sides of each slice of bread and place some cheese between them (add seasonings to the cheese the same way you would normally). Then, put the sandwich on your air fryer tray and set the appliance to 375 degrees Fahrenheit. While the exact timing will vary between different models, the sandwich should take about 5 to 10 minutes to get crispy and melty. Flip the sandwich over about halfway through the cooking process to ensure both sides crisp evenly. Remove and enjoy the fruits (or cheeses, as it were) of your labor.
Overlooking the oven if cooking for a lot of people

If you need to make several grilled cheese sandwiches, you'll be standing over the stove for a long time if you use the frying pan. Not to mention, the first few sandwiches you make will be ice cold by the time you finish up the last few. So, you'll have to serve some people earlier than others, or half of your guests will be served cold grilled cheese.
Fortunately, there is a solution to this problem: Use the oven to cook multiple sandwiches at the same time. Assemble the sandwiches as you would cook them in a frying pan by buttering both sides of the bread and adding a few slices of cheese between two pieces of bread. Then, place the sandwiches on a sheet pan and bake for about 10 minutes in a 450-degree Fahrenheit oven (flipping halfway through the cooking time).
Never trying an inside-out grilled cheese
An inside-out grilled cheese puts an extra cheesy twist on a classic. As you may be able to guess based on the name, the inside-out sandwich has cheese on the outside of the bread. It keeps all the wonder of the gooey, cheesy center and adds extra excitement with a crispy and cheesy exterior.
To make an inside-out grilled cheese, you'll need a bit of grated cheese (you can use a bit of cooking spray to make grating easier) and the ingredients for a standard sandwich. Try adding other fillings with the cheese, like turkey, chicken, or veggies. After assembling the sandwich, preheat the pan. Before placing the assembled sandwich in the hot pan, pour in a bit of the shredded cheese. Place the sandwich on top of the cheese and let it cook. When it is ready to flip, add more shredded cheese to the skillet for the other side. The finished sandwich will have a crispy cheese crust, upping its flavor and appeal.
Digging in right away

After working so hard and being careful to avoid making a mistake when preparing your grilled cheese sandwich, you'll understandably be ready to dig in as soon as you take it out of the pan. However, you'll have to curtail your excitement and exercise just a little bit of patience to avoid making another mistake. Just as many cuts of meat should be allowed to rest for a few minutes before you cut into them, the same is true for grilled cheese.
If you bite into the sandwich or slice it in half immediately after taking it off the heat, the cheese will be too liquidy. This means that some of it is likely to run out of the sandwich. Beyond making a mess on your plate — or your shirt — this will equal less cheese for you to enjoy. Instead, wait just 2 or 3 minutes to give the cheese a chance to cool down slightly and set enough to hold its form better.