13 Mistakes To Avoid When Making Caramel, According To A Confectioner
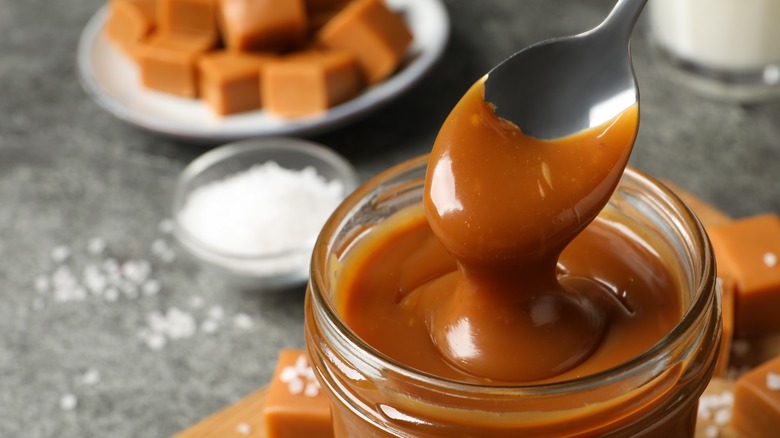
Sweet, salty, and deliciously versatile, caramel is one of those desserts that avid bakers dream of perfecting. However, making caramel at home can be intimidating as it requires precise timings and involves working with scalding hot ingredients. To sift through some of the dos and don'ts of making caramel at home, we spoke to expert confectioner Nicole Patel, owner and chocolatier at Delysia Chocolatier. A chemical engineering graduate, Patel notes that "making caramel is more of a chemistry experiment than cooking" and that "every step demands attention to detail."
Despite this, home cooks can master making caramel, and it's worth the effort as this luscious, sticky confection can be used in many ways. From finding the key to perfectly melted caramel for apples to making mouthwatering chewy candies, homemade caramel has a simple recipe and only requires a few common household ingredients. By avoiding these 13 caramel-making mistakes, you'll feel like a patisserie pro in no time.
1. Not having everything prepared before you begin
Preparation is one of the most important steps when cooking any recipe, but it takes on a special importance when making homemade caramel. Nicole Patel advises prepping all your ingredients and utensils within easy reach and choosing a recipe to follow in advance. "Your molten sugar syrup can quickly transition from a beautiful caramel color to a burnt mess," Patel explains. "When the sugar mixture reaches the desired stage, you must be ready to act without delay.'"
To make caramel at home, you'll need sugar, water (if you're making wet caramel instead of dry), and optional ingredients such as salt or lemon juice. You should also measure the quantities of any milk, cream, or butter you want to add. To cook your caramel, you'll need a pan to heat the sugar and a whisk, spoon, or brush to gently move the caramel around while it cooks.
2. Using the wrong type of pot
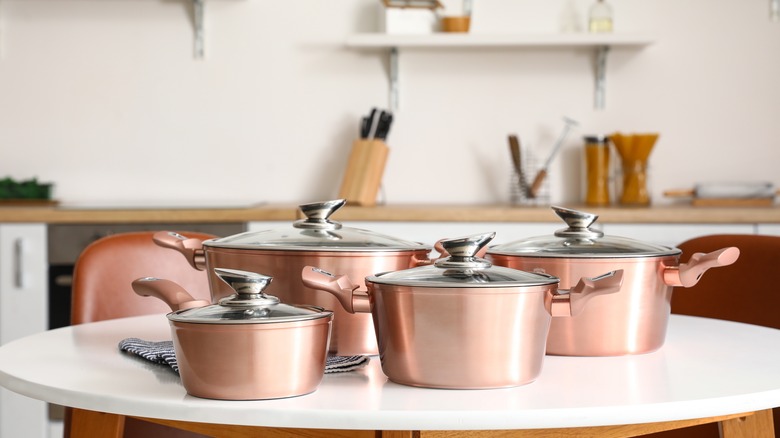
"High-quality cookware is indispensable when making caramel," according to Nicole Patel. If you use a "thin-walled or flimsy pot, the sugar around the edges can heat up too quickly, leading to burning before the rest of the caramel has had a chance to cook." Patel notes that pans made from copper or stainless steel are ideal for dissolving sugar, as they heat up evenly, allowing all the sugar to melt at the same rate. If spots in your pan overheat, this can also cause sugar crystals to form, ruining your smooth caramel texture.
Unlined copper pans are popular with pastry chefs and confectioners because copper conducts heat extremely well. This is important when making caramel; you must get the sugar scalding hot before it melts. Copper also cools down quickly, meaning that your sugar won't continue to cook and will burn once you take it off the hob.
3. Selecting the wrong pan size
Scrubbing burnt sugar off your stovetop is an unforgiving task and one that can ruin a fun caramel-making session. Choosing a pan that is the right size will help prevent spillage while you cook and improve the quality of your end product. If you're making a wet caramel — adding water and then milk, cream, or butter to your sugar — Nicole Patel recommends that you "select a pot with high walls and a capacity double that of the ingredients you're adding."
When cold milk is poured into boiling caramelized sugar, the mixture bubbles up rapidly and can overflow if your chosen pan isn't deep enough. Additionally, Patel suggests ensuring that "the pot's diameter closely matches that of the burner you're using to promote even cooking." If the pot is too large for the hob, the sugar inside will cook faster than the sugar at the outer edges. Meanwhile, a pot that's too small will rapidly heat at the sides, leaving the sugar in the middle underdone while the edges scorch.
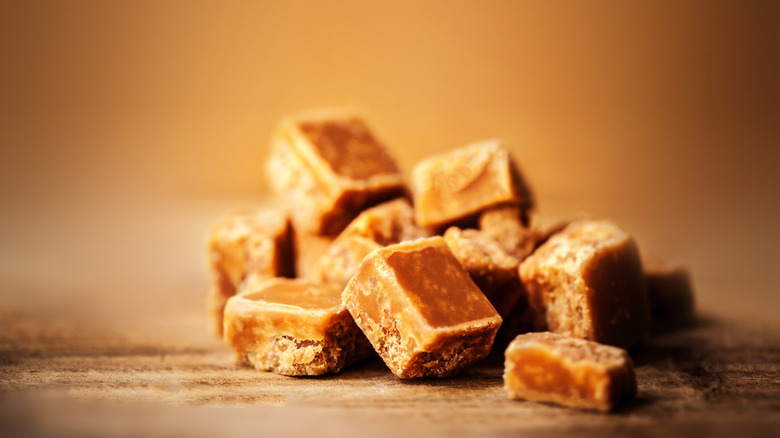
4. Using dark or brown sugar
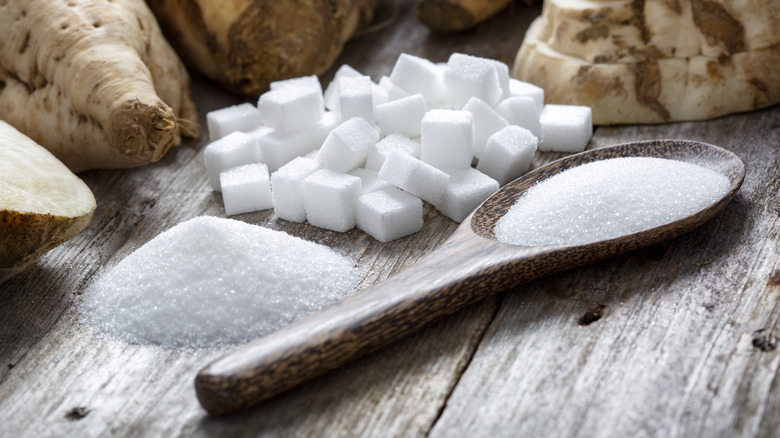
If you're wondering what type of sugar to use in your caramel, remember that caramel and butterscotch have one sugary difference – butterscotch is made with brown sugar. In contrast, caramel should always be made with white granulated sugar. Nicole Patel explains that "darker and regular brown sugars, sugar substitutes, or unrefined sugars such as cane sugars may not yield the classic caramel flavor." This is because darker or unrefined sugars contain impurities, which change how they react to heat and can make them more likely to burn.
Dark sugar also contains molasses — a byproduct of sugar cane that is removed during white sugar's refining process — and can make caramel taste bitter. In contrast, caramelized white sugar produces a sweet, even flavor that is lighter and less complex than butterscotch. However, if you do want to add a bitter back taste or some nutty notes to your caramel, you can do this by cooking the sugar for slightly longer, allowing it to reach a dark brown — but not burnt – color.
5. Rushing the process
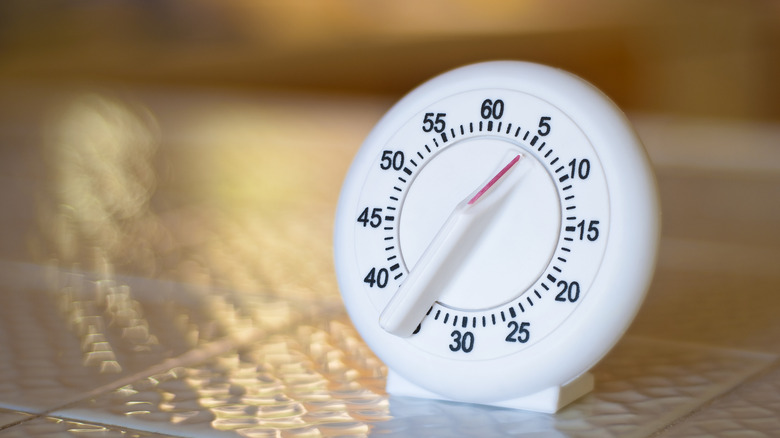
According to Nicole Patel, when it comes to making caramel at home "patience is crucial". Trying to make caramel when you're pushed for time is the worst way to approach this recipe. Instead, Patel recommends setting aside "approximately 20-25 minutes to achieve your desired caramelization level." Giving yourself adequate time will allow you to keep your caramel on a low-medium flame rather than trying to speed up the process by increasing the heat, which can easily lead to burnt sugar.
You also need to react swiftly if your caramel does start to burn. Patel notes that "having a roasting pan filled with ice water nearby serves as an excellent precaution to swiftly halt the cooking process if your caramel begins to scorch." If you're using a copper pot, immersing it in cold water will quickly cool the metal and stall the caramel's heating. Patel also notes that impatience can lead cooks to take the caramel off the heat too early before it has had time to properly thicken and set.
6. Multitasking

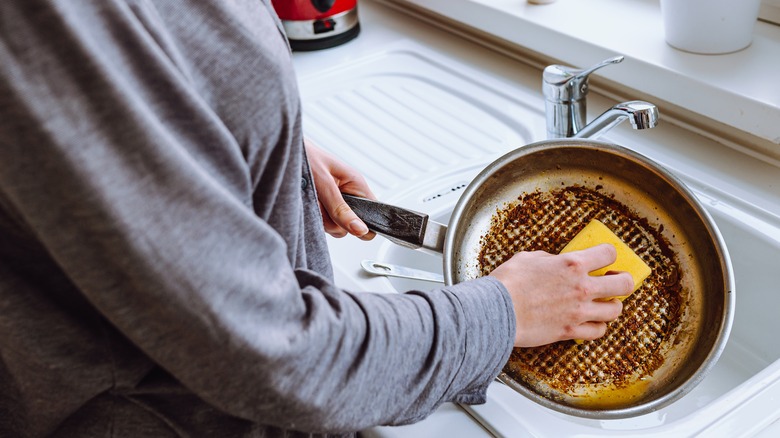
When you're making caramel at home, it's important to give the recipe your full focus. Don't try to multitask and split your attention across other dishes that you're preparing. Nicole Patel warns you should "never walk away from the stove" when melting sugar because "what starts as golden, beautiful caramel can quickly turn into a blackened, burnt mess." As well as ruining your dessert plans, Patel explains that burnt sugar is incredibly difficult to scrub off your cookware.
If you have an incident, Patel advises against using metal scourers on your pans or trying to chip hardened caramel off surfaces, which can cause damage. Instead, soaking and washing the pan repeatedly with hot water and soap should eventually remove any residue. Hardened caramel can also be a nightmare to clean off stovetops, especially gas stoves with removable grates that must be cleaned separately. If you're looking for caramel-removing tips, one of the best ways to clean your gas stove grates is to immerse them in boiling, soapy water and scrub them with a baking soda and water paste.
7. Ignoring safety precautions
Safety is vitally important when making caramel at home. "Once sugar has melted down to a syrup, it becomes molten hot, with a temperature much higher than boiling water," Nicole Patel explains. Any contact with the skin poses an extreme danger and could result in severe burns, ranging from second to third-degree.
Molten sugar also sticks to the skin, making it extremely difficult to remove, and takes several hours to cool down. This means you must exercise caution even when using caramel that's been removed from the heat. While you shouldn't let this put you off, taking basic precautions will set you at ease and protect you from serious accidents.
Patel recommends wearing an apron over your clothes and standing well back when your caramel is bubbling to avoid splatter. You should also keep children and pets out of the kitchen when you have caramel on the stove and wear long-sleeved clothing and even gloves if you're worried about burns. Once your caramel is cooked, Patel suggests sliding it to a back hob on the stove and leaving it to cool for around one hour before refrigerating.
8. Not using a candy thermometer
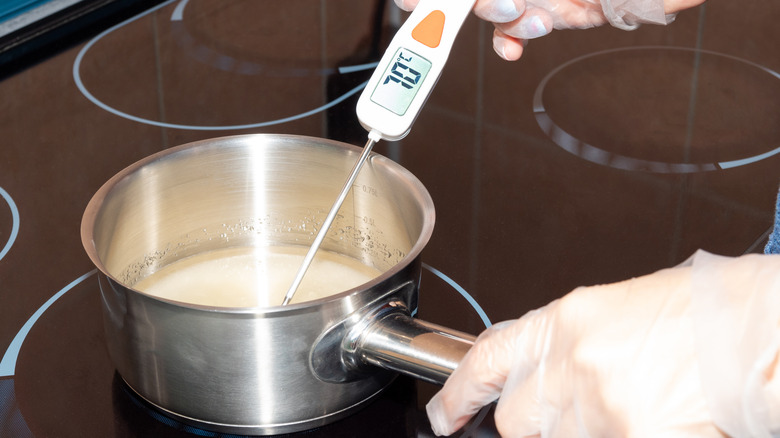
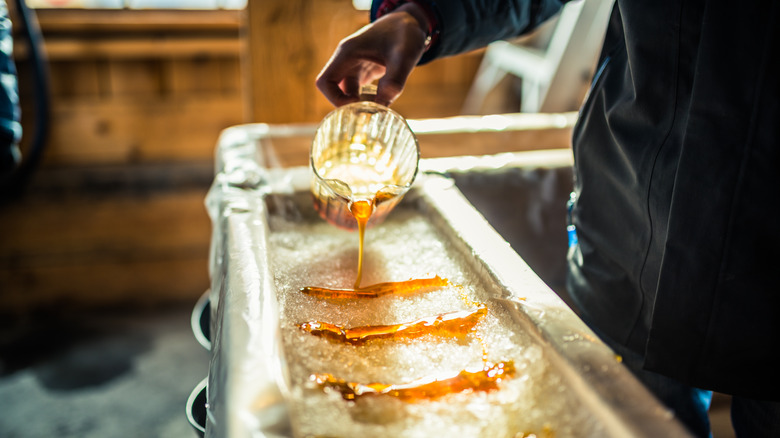
Caramel consistency varies depending on the temperature at which the sugar is heated, ranging from the early thread stage — a liquid caramel syrup — to the final hard crack stage when the caramel takes on a solid, brittle consistency. The caramel you end up with depends on the specific temperature the sugar is heated to and the time it spends on the heat. While liquid caramel is achieved at temperatures between 230-235 degrees Fahrenheit, firm-ball caramel, generally used to make chewy candies, forms between 245-250 degrees Fahrenheit. These precise fluctuations in temperature can make a huge difference in whether you get a creamy, chewy caramel or a much harder toffee-like substance.
Given the specificity of these temperature ranges, Nicole Patel states that "investing in a high-quality candy thermometer is highly recommended" for making caramel. This will help you gauge heat ranges if your oven temperature is not as accurate as you think. Patel also recommends testing your thermometer in boiling water before use and having "a small bowl of ice-cold water ready to drop a spoonful of the sugar mixture into" if you need to cool it swiftly.
9. Cooking caramel on humid days
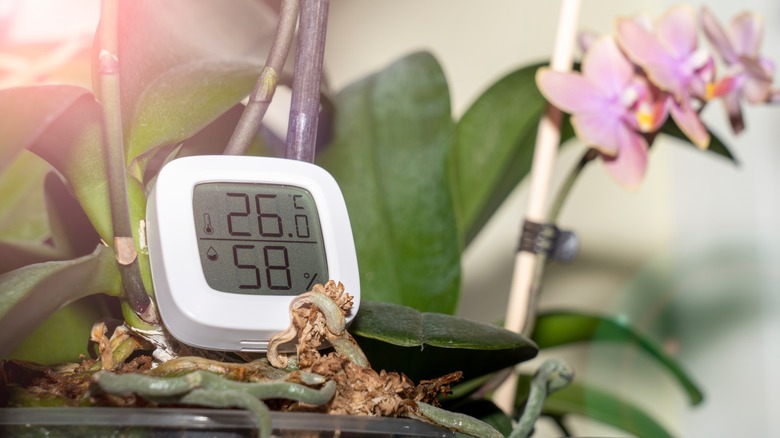
While creamy caramel is a tempting treat all your round, Nicole Patel states that caramel is easier to make in winter. Warm weather and high humidity can make a surprisingly big difference to caramel's consistency. "Unlike baking, where humidity is often overlooked, it's a critical factor to consider when making confections," Patel explains. Making caramel involves cooking all the water out of the sugar, meaning that "humidity can adversely affect the entire process, leading to longer cooking times due to increased moisture in the air."
A warm, humid kitchen can also make caramel sticky, making it difficult to shape and handle once cooked and giving it a "grainy texture." Patel notes that ideally, you should make caramel in settings with less than 35% humidity. If you are making caramel in a humid climate, you may need to turn on your air conditioner or keep the windows closed to stop dampness from getting in from outside.
10. Watch out for recrystallization
Recrystallization during cooking can be a problem when making wet caramel at home. It can lead to caramel sauce that contains crunchy sugar granules or has a grainy consistency. Nicole Patel notes that one of the main causes of recrystallization is over-stirring your caramel at an early stage. Stirring too much before the caramel has browned can cause tiny splashes to land on the pan sides. These then harden before falling back into the mixture and causing crystals.
According to Patel, one way to avoid recrystallization "involves brushing the walls of the pot with water as it cooks to wash down any sugar syrup." You can also cover "the pot with a lid to trap steam until all the sugar has dissolved" as the "evaporating water helps prevent crystallization." Alternatively, Patel suggests making dry caramel using a base of pure sugar instead of sugar and water and only swirling the pan gently once the caramel has gained some color.
11. Burning the sugar
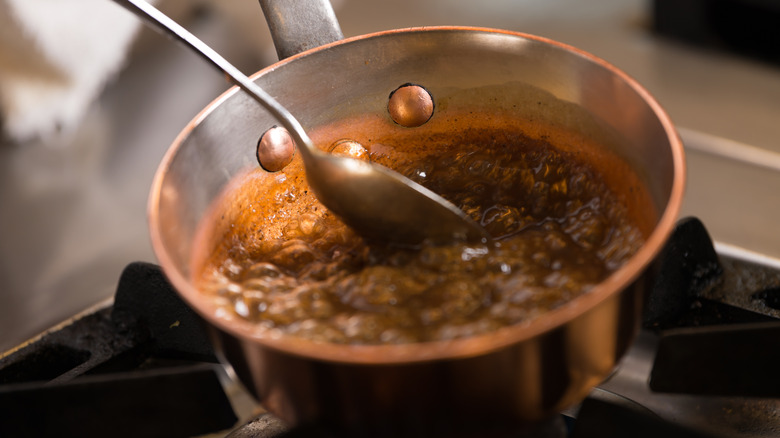
Taking your caramel off the heat at the optimal moment — when it's properly cooked but not burnt — is a bit of an art form. Caramel can go over extremely rapidly and, if you want to achieve a nice dark color and a firm consistency, you need to leave it on the heat until it is almost on the verge of burning. Nicole Patel notes that watching your caramel carefully is the key to hitting this sweet spot and not ending up with burnt sugar and a ruined pan. Watch for signs like the caramel reaching "a deep amber color and larger sugar bubbles' starting to form."
You may also notice a small amount of smoke coming off your mixture. When you see these changes, Patel stresses that "it's crucial to remove the pot from the heat immediately to prevent further darkening." You should then add your cream, milk, or butter right away. Don't stress if you don't get things perfect the first time, and make sure you have some pantry staples that clean aluminum pans or copper pots, like baking soda or white vinegar, in your cupboards.
12. Over-thickening your caramel
One basic rule to remember when making caramel is that the longer it cooks, the thicker and more solid it becomes. "Caramel continues to thicken as it cools," Nicole Patel explains, and overheating it can result "in a caramel that is too thick to pour." To get around this, Patel suggests taking your caramel off the heat before it thickens to the desired texture.
Of course, this type of judgment becomes easier with practice, so Patel suggests it is possible to salvage a caramel taken off the stove too early. Add a couple of tablespoons of cold water and place it back over the heat to continue reducing. If you've accidentally made your caramel too thick, pouring in a little heavy cream can return it to a softer, more pliable state. However, Patel cautions that "these adjustments are most effective when making caramel for sauces or dips" and may give firmer caramel a grainy texture or a murky color.
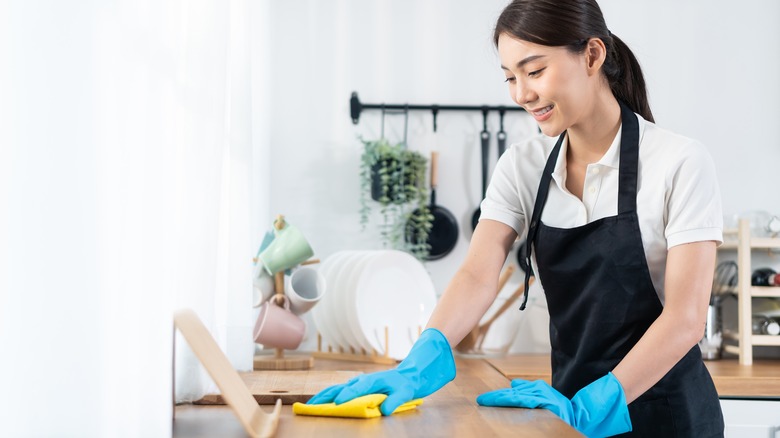
13. Not using clean utensils
Using clean utensils at every stage of the caramel-making process is crucial if you want to achieve a smooth, clear sauce. Don't be tempted to reuse a spoon or spatula with caramel residue on it, as this can place sugar crystals that have formed at different stages of the heating process into your sauce as it reduces.
"No matter how many dirty dishes you accumulate," Nicole Patel strongly advises to start with a "clean utensil every time you stir, scrape, or perform a cold water test." This will help you get a clear, refined consistency that's perfect to pour over ice cream, shape into candies, or drizzle over a creamy frappuccino. The potential for what you can do with your finished caramel is almost limitless, making it an appealing dessert. Use homemade caramel to garnish your favorite chocolate bars as easy, customizable holiday bark, to make caramel-coated apples, or use it as a chewy layer inside a coffee cake.