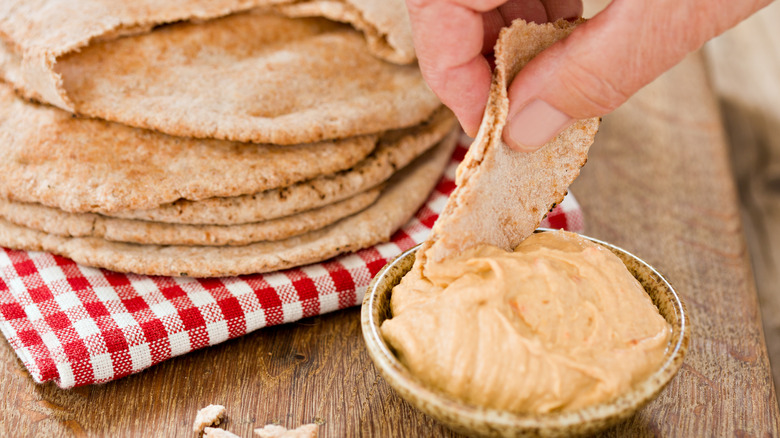
13 Mistakes Everyone Makes With Homemade Hummus
Hummus has been a staple of the world's kitchens for centuries. The creamy combination of pureed chickpeas, tahini, and spices can trace its origins to the Middle East where hummus remains a fixture of the region's culinary culture. Flavorful, rich in protein, and endlessly versatile, it's easy to understand why so many cultures have embraced this humble dip. From the simplest forms made with chickpeas and tahini, to elaborate concoctions topped with ground lamb and hard-boiled egg, there's a hummus for every occasion, budget, and craving. There are even ready-made mass-produced versions of the Mediterranean staple sold at nearly every supermarket. While those versions of hummus might be perfectly fine for quick snacking they pale in comparison to the transcendence of properly prepared homemade hummus.
Because hummus sounds so simple, many novices are quick to toss chickpeas, tahini, and a few other ingredients into a food processor, expecting instant hummus perfection. However, the devil is in the details, and it's these details that often trip up even the most well-intentioned home chefs. As a self-declared hummus snob, I've perfected my homemade hummus over the years by learning to avoid a few common pitfalls that keep hummus from reaching heavenly heights. For velvety smooth hummus that rivals the best restaurant versions, avoid these all-too-common mistakes everyone makes with homemade hummus.
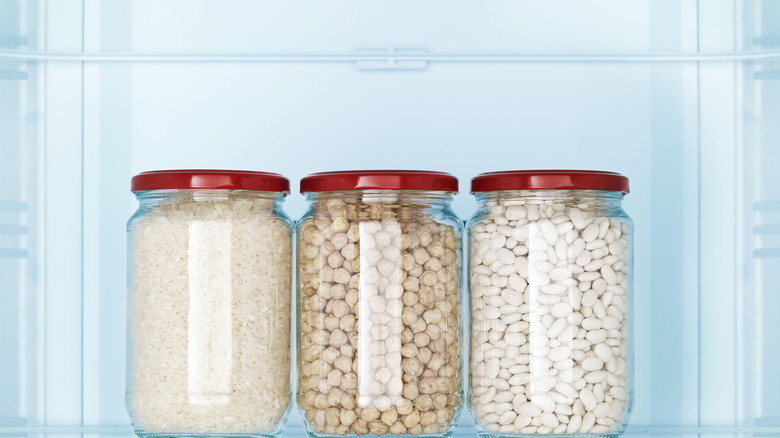
1. Using canned chickpeas

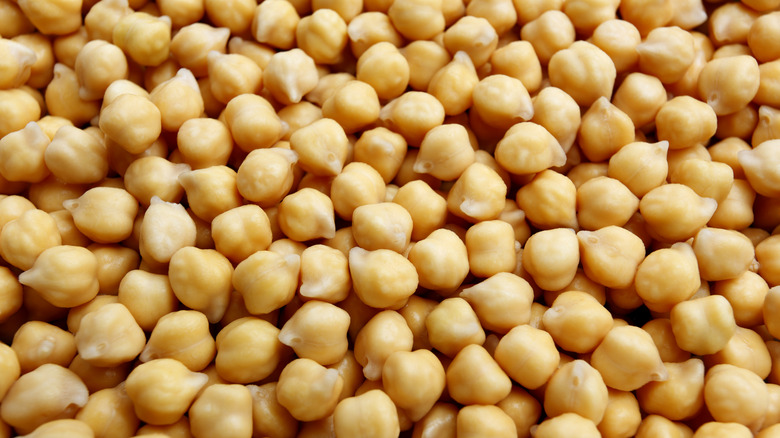
Since hummus is mostly chickpeas, using the right ones is crucial. The best hummus starts with dried chickpeas that have been soaked in water and then simmered to tender perfection. While canned chickpeas might be more convenient for making hummus at short notice, freshly cooked chickpeas give hummus a more complex, well-rounded flavor. If you've ever noticed a hint of metallic flavor in your homemade hummus, canned chickpeas are probably the culprit. It's difficult to remove that tinny taste from canned legumes, even after several rounds of draining and rinsing. Swapping out canned chickpeas for dried ones also makes it much easier to customize a batch of hummus to your liking. Since you control everything from the saltiness to the softness of the cooked chickpeas, you can fine-tune the hummus to your taste buds.
If the flavor perks of dried chickpeas aren't enough to convince you to make the switch, the budgetary ones just might. A pound of dried chickpeas will run you about $1.38 at an average U.S. supermarket. That pound yields about six cups of cooked chickpeas, enough to make a generous amount of hummus. By comparison, the same amount of canned chickpeas costs around $3.80. What you save in dollars you trade in time: chickpeas need at least eight hours to soak in cold water before they're ready to cook. Still, the perks of using dried chickpeas to make hummus make that extra prep time well worth it for hummus enthusiasts.
2. Not adding baking soda to the chickpea water
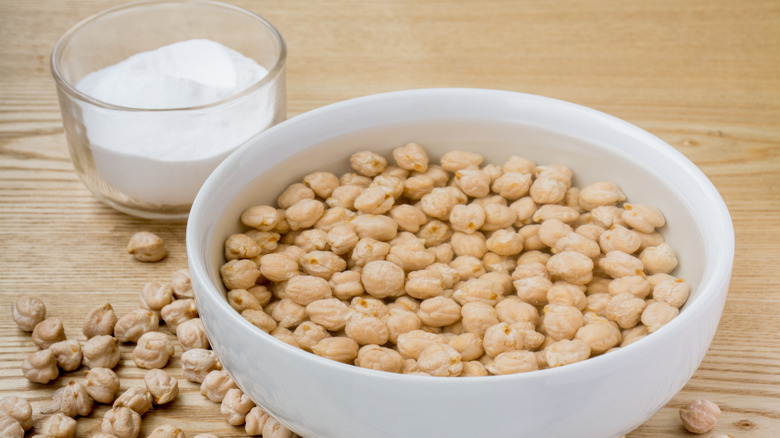
Don't underestimate the transformative power of a pinch of baking soda in your chickpea cooking water — it's the secret ingredient that elevates hummus to gourmet heights. The magic lies in the alkaline properties of baking soda, which helps break down the tough outer skins of chickpeas and significantly reduces their cooking time. Beyond the convenience factor, the addition of baking soda plays a pivotal role in enhancing the overall flavor and digestibility of chickpeas. The softer skins slide easily off of the chickpeas for quick peeling for the ultimate in velvety hummus. That softness also makes the legumes gentler on your digestive system which means you're less likely to experience gassy side effects from your high-fiber hummus.
Some cooks like adding baking soda to the water while the chickpeas soak, while others add baking soda later during the actual cooking time. Both methods work equally well with one exception: aluminum cookware. Adding baking soda while chickpeas simmer in an aluminum pot will cause a chemical reaction that can darken and discolor your chickpeas and by extension, your hummus. If you're cooking chickpeas in an aluminum pot, add baking soda to the water while the chickpeas soak. Then drain the chickpeas and cook them in fresh water instead.
3. Undercooking the chickpeas
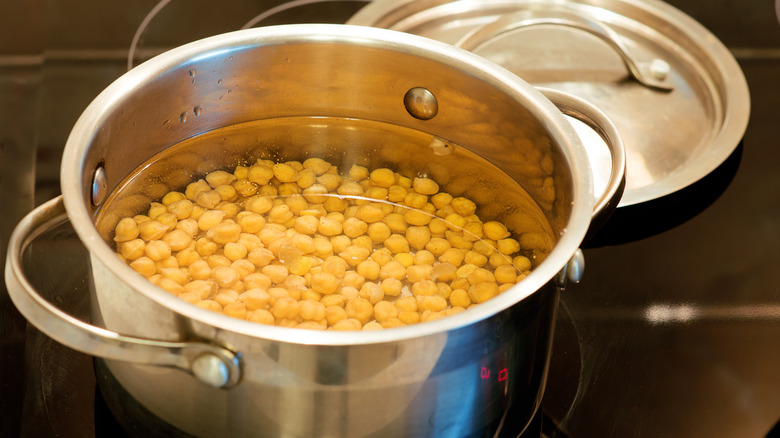
One common pitfall that many home cooks encounter when preparing hummus is undercooking the chickpeas. Cooking dried chickpeas sufficiently and to the right tenderness is a crucial step in crafting exceptional homemade hummus. Undercooked chickpeas can result in a gritty and grainy consistency, detracting from the luxurious mouthfeel that defines a stellar hummus.
To avoid this misstep, it's essential to soak dried chickpeas overnight before cooking. This preliminary step not only reduces the cooking time but also promotes even cooking, ensuring that each chickpea reaches the ideal level of tenderness. Once soaked, simmer the chickpeas in a generously salted pot of water until they are soft and can be easily mashed between your fingers. With baking soda added to the cooking water, a cup of dried chickpeas takes about 90 minutes to reach this tenderized state. This long cooking time allows the chickpeas to absorb flavors more effectively, contributing to the depth of taste in the final hummus. By investing the extra effort into properly cooking your chickpeas, you'll be rewarded with hummus that's not only lusciously smooth but also bursting with nuanced flavors that showcase the full culinary potential of this simple dip.
4. Not peeling the chickpeas
Peeling the skins off of chickpeas before transforming them into hummus might sound too finicky to be worth it. If you want to really step up your hummus game, though, this is a labor of love that pays off in spades to achieve maximum hummus smoothness. Removing the outer skin ensures a creamier hummus that's free from any of the gritty or fibrous remnants. Peeling chickpeas doesn't necessarily require removing the skins from the legumes one by one, either. To peel chickpeas fast, start by cooking them until they're very tender. Once cooked, drain the chickpeas and place them in a bowl filled with water. Gently rub the chickpeas between your fingers until the skins start to loosen and float to the surface.
Don't have time to soak and cook dried chickpeas? Use canned chickpeas and remove the peels. While freshly cooked chickpeas are still best, peeling makes canned chickpeas softer, smoother, and easier to incorporate into creamy hummus. While this step requires a bit of patience, the result is a hummus that boasts a remarkably velvety consistency you should try at least once.
5. Using the wrong kind of tahini
Is your homemade hummus tasting bitter, sour, or otherwise off? You may be using the wrong kind of tahini. Made from sesame seeds that have been soaked and ground into a spreadable paste with the consistency of peanut butter. Tahini is a staple of Middle Eastern and North African cuisine, but far less common in the United States. Since U.S. grocery stores often stock only one or two varieties of this seed butter, you might be unknowingly sabotaging your hummus with the wrong tahini. When making hummus, opt for a high-quality tahini made from hulled sesame seeds for a smoother consistency and a milder, less bitter flavor profile. While un-hulled tahini is more nutrient-dense due to the presence of sesame seed husks, it can sometimes result in a grittier texture and a more pronounced bitterness, which may overshadow the delicate taste of the hummus.
Always double-check the freshness of your tahini before plopping a spoonful into your hummus recipe. There's nothing worse than taking that first bite of homemade hummus only to discover it's been ruined by rancid seed oils. The sell-by date on the jar will give you a good idea of your tahini's shelf life, but it's a good idea to give the contents a sniff too, just to make sure.
6. Not using enough tahini
Too many hummus-making novices overlook tahini, adding just a spoonful or two almost as an afterthought. On the contrary, the significance of tahini in the art of hummus-making cannot be overstated. This sesame seed paste is the unsung hero that imparts a distinct creaminess and nutty undertone to this Middle Eastern delicacy. Using too little tahini leaves you with hummus that tastes like nothing more than a bland bowl of mashed chickpeas. Add a generous amount of good-quality tahini for a silky-smooth, flavorful hummus that's bound to impress even the most discerning palates.
When it comes to the tahini-to-chickpea ratio, striking the right balance is key. Start with around ½ cup of tahini per cup of cooked chickpeas, but feel free to adjust based on personal preference. This range ensures that the tahini contributes its rich flavor without overpowering the chickpeas, allowing the other ingredients, like garlic, lemon juice, and olive oil, to shine through. Incorporate the tahini gradually as you blend the hummus to achieve the desired consistency and taste test as you go to fine-tune your dish.
7. Using cold ingredients
Cold ingredients, particularly cold chickpeas, can hinder the blending process. It takes more time and effort to process a cold chickpea or garlic clove into a creamy dip which can result in hummus with an uneven, gritty texture. When ingredients are at room temperature, they emulsify more effectively, allowing the fats from the olive oil and tahini to incorporate seamlessly into mashed chickpeas for a fluffy consistency and vibrant flavor.
You can still cook a big pot of chickpeas ahead of time and store them in the fridge until you're ready to whip up some hummus. Just warm them in a pan or microwave first to bring them to room temperature. Set your lemon, garlic, and any other chilled ingredients out on the counter for about 30 minutes before adding them to the hummus, too. It doesn't take any extra effort and you'll notice a difference as soon as you flip on the food processor or blender.
8. Using powdered or dried garlic
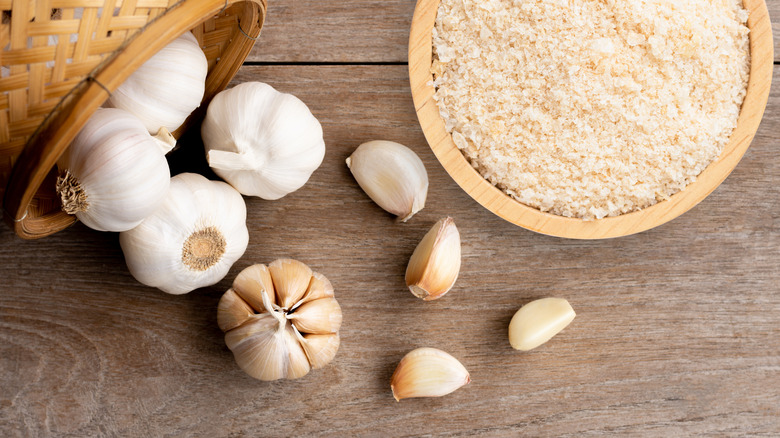
Not all hummus styles call for garlic but for those that do, fresh garlic reigns supreme. Aromatic and pungent, fresh garlic livens up homemade hummus in a way that its processed counterparts do not. You might be tempted to reach for dried or powdered garlic for convenience's sake, but those substitutes lack the power and nuance of a freshly peeled clove. Even jarred garlic, while better than powdered, pales in comparison.
For ultra-garlicky hummus, mince the peeled cloves before tossing them into the food processor. The allicin compounds found in fresh garlic, responsible for its distinct aroma and flavor, are at their peak when the garlic is minced. This gives your hummus a bold, unmistakable garlic punch. Without that fresh garlic layer, hummus falls short of the robust taste this Middle Eastern specialty is known for. For a more subtle but equally robust hummus, roast the garlic cloves in the oven first. Roasted garlic brings a more complex, slightly sweet flavor to hummus that complements the savory chickpeas and tangy lemon juice.
9. Not using extra virgin olive oil
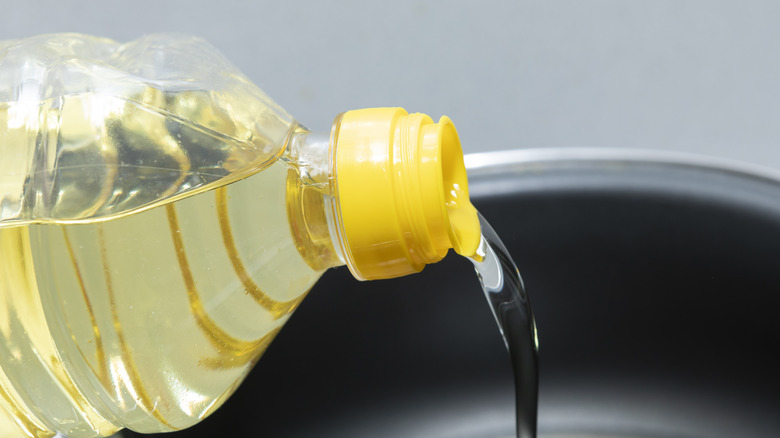
In a world with so many cooking oils to choose from, extra virgin olive oil remains the unrivaled champion in hummus. Characterized by its fruity, peppery, and lightly bitter-tasting notes, high-quality olive oil adds a boost of flavor to your hummus without overpowering the other ingredients. You don't need to reach for the fanciest, priciest bottle on the shelf, but steer clear of refined olive cooking oils which are much lighter, more processed, and nearly flavorless. Like canola oil and vegetable oil blends, these refined olive oils lack the rich complexity that extra virgin olive oil brings, offering a more neutral taste that may leave your hummus lacking in depth and character. This is one reason store-bought hummus seems so lackluster compared to the hummus you get at restaurants — many pre-made hummus brands use vegetable oils that are less expensive and also less flavorful than extra virgin olive oil.
Using sesame oil instead of olive oil and tahini is another common hummus mistake. It adds an intense nuttiness to hummus that overpowers the flavors of the chickpeas, garlic, and spices and brings out the bitterness of the tahini. Save the sesame oil for salad dressings and rely on extra virgin olive oil for all of your homemade hummus needs.
10. Not using fresh lemon juice
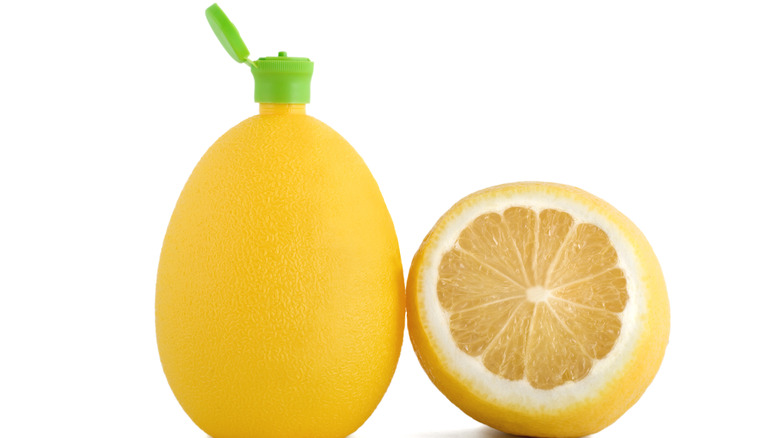
Most hummus recipes call for a hearty squeeze of lemon juice. The citric acid found in lemon juice brightens up the nutty and earthy flavors of the chickpeas and tahini for hummus with a fresh well-balanced flavor profile. That acidity also helps act as a natural preservative, extending the shelf life of your homemade hummus. If you've been squeezing your lemon juice from a bottle into your hummus recipe, it's time to make a change. Bottled lemon juice could be the reason your otherwise well-made hummus tastes a little flat compared to an authentic restaurant version.
Freshly squeezed lemon juice tastes brighter and tangier than citrus juice that's been sitting around in a bottle. Squeezing the juice fresh also releases some of the zest — the part of the lemon responsible for its signature citrusy aroma. This easy swap could make the difference between mediocre hummus and spectacular hummus that'll have everyone coming back for more.
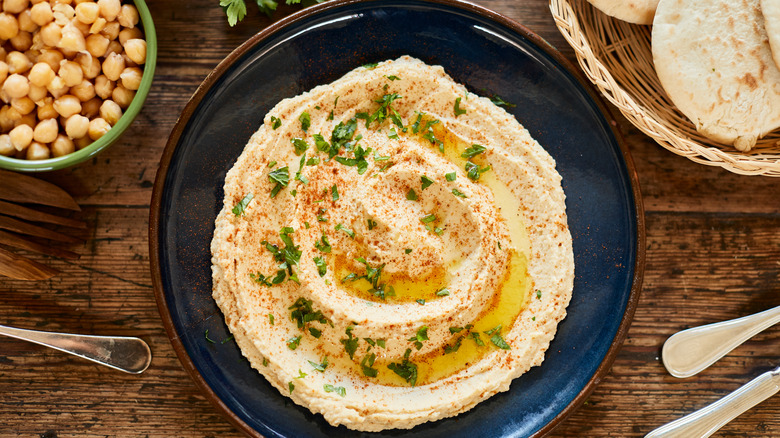
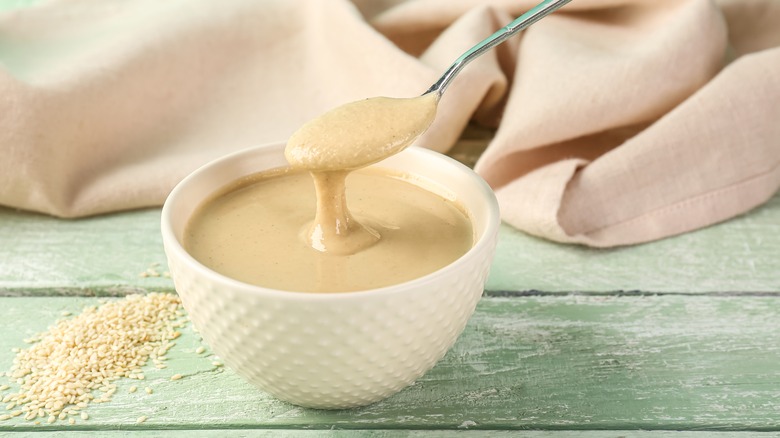
11. Forgetting to serve it with olive oil on top
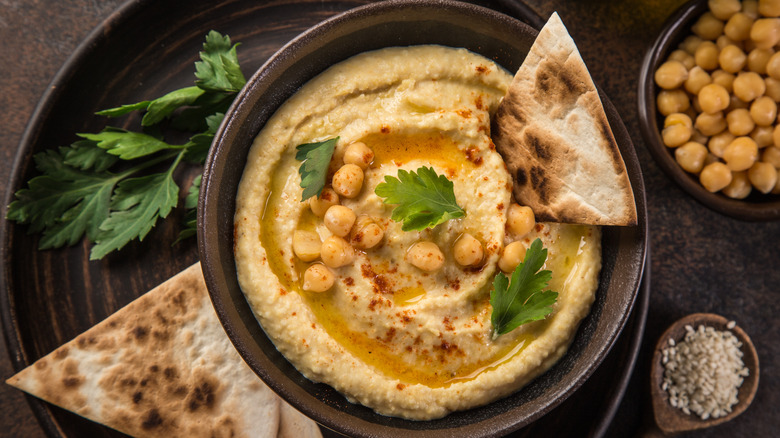
Impressive hummus isn't all about the preparation. How you serve it matters too. For hummus that turns heads, drizzle plenty of extra virgin olive oil on top before bringing it to the table. A swirl of olive oil on your hummus is aesthetically pleasing, creating an eye-catching contrast between beige chickpeas and the golden-green shimmer of oil. The silky texture of the oil layer also lends a luxurious mouthfeel to the dip, that gives the hummus a gourmet finishing touch.
In places where hummus is traditional like Israel the dip is typically served with olive oil only on top, not blended in with the chickpeas and tahini. The fluffy chickpea paste gets incorporated with the hummus as it's eaten instead, which many hummus fans prefer. Whether you choose to process your chickpeas and tahini with extra virgin olive oil or not, you should certainly serve the finished hummus with a bit of additional olive oil pooled on top.
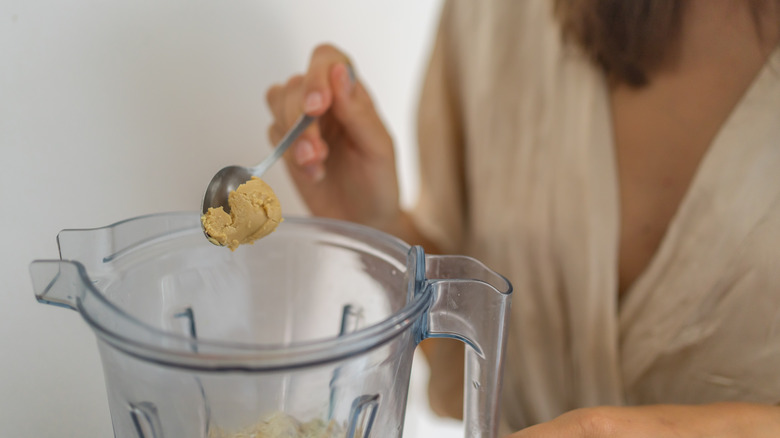
12. Under blending the ingredients
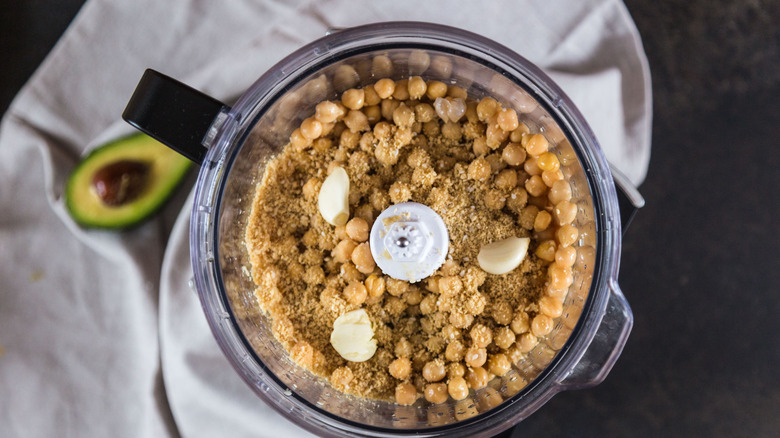
The texture is crucial when it comes to hummus. If silky smooth hummus is the goal, you probably need to be blending it longer than you think. Even after the chickpeas appear pureed, small bits of leftover skin can remain causing a little grittiness in the otherwise smooth hummus. Beyond liquifying the chickpeas, blending also helps emulsify the tahini, olive oil, and garlic for hummus with a cohesive flavor in every bite.
Once upon a time, this process had to be completed by hand with a mortar and pestle or other mashing tools. These days, it takes a lot less elbow grease to make hummus thanks to high-powered electric blenders and food processors. You can use either one for making hummus, but bowl-style food processors tend to take a little longer to turn the chickpeas into a smooth puree compared to the many powerful blenders on the market. Whichever appliance you put to use, make sure to employ some patience too. That extra minute or two of blending is worth it when you see how lusciously creamy your hummus comes out.
13. Serving hummus cold
Believe it or not, hummus was designed to be eaten warm. Cold hummus has become the norm in the United States thanks to the popularity of store-bought hummus which means many of us are unnecessarily chilling our homemade hummus before getting a chance to taste it at its best. With its chickpea and tahini base, hummus tends to firm up after chilling giving it a goopy, pasty mouthfeel. Instead of serving it cold, allow refrigerated hummus to reach room temperature or gently warm it up to restore its velvety consistency.
Warm hummus also has a more intense flavor and aroma than it does when served cold. Heat enhances the flavor compounds in foods which is one reason warm hummus may taste more garlicky, savory, or salty. When hummus is chilled, these flavors can be somewhat muddled, detracting from the vibrancy that makes homemade hummus so enticing. Next time you make hummus at home, try it warm with a fresh pita and notice the difference. You may never go back to eating cold hummus again.