The One Spot You Probably Forget To Clean On Your Keurig

We may receive a commission on purchases made from links.
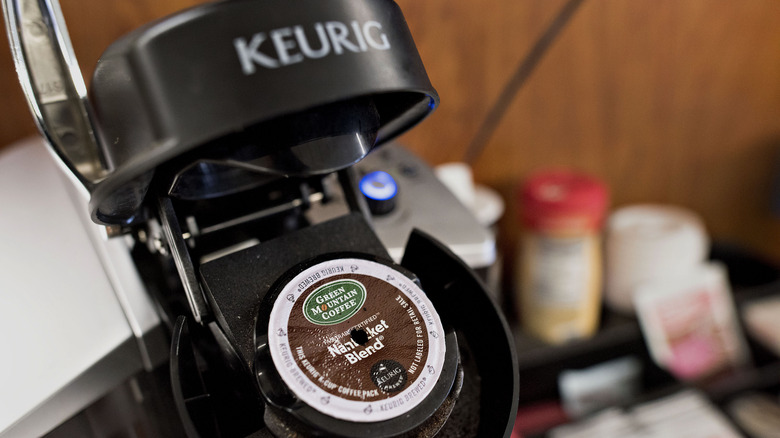
You may think you know your Keurig Brewer inside and out, but one tiny spot is probably being neglected. Need a hint? It's small but mighty, sharp, and you won't be able to brew your next mug of coffee without it. If you're scratching your head, think about the little pinpricks left in every spent K-Cup. These are made by one of your Keurig's three needles, though if you're getting poor brews, it's likely all of them need some TLC.
There are two telltale signs your Keurig's needles need cleaning. The first and most frustrating (especially on those mornings when you desperately need coffee) is when you fill your brewer's water reservoir, insert a fresh K-Cup, hit the brew button, and nothing happens. A second, more subtle indicator is inconsistent brewing, leading to brews that are either too weak or too strong. Both issues occur because coffee grounds accumulate in the needles, obstructing flow. Even if your Keurig seems to be working fine, you should be cleaning it (and its needles) regularly.
How to clean those Keurig needles
Keeping your Keurig's needles clean is essential for smooth brewing, and it takes less than 10 minutes. As long as you know where to find the needles and how to clean them safely, it's a straightforward process. You'll need a few items to start: a clean paperclip, a heat-safe cup, and water for the reservoir.
For safety, start by turning off and unplugging your Keurig Brewer. Then, open the lid fully and remove the pod holder, which might require a gentle push from the bottom. The pod holder has two parts, including a pod basket and a funnel, and you'll need to separate them to access the exit flow needle. Be careful with these needles; If they're sharp enough to puncture a K-Cup, they're sharp enough to puncture your skin. Poke the paperclip into the needle inside the funnel (but not through it) to clear any stuck coffee grounds. Then, rinse both pieces of the pod holder.
To find the entrance needle (or needles, depending on the model of Keirug you have), open the brewer and look under the top. There are two holes in each of these needles. Just like with the exit needle, use a paperclip to poke the needle and gently move it around to loosen any debris. After reassembling, run two water-only brews. According to Keurig, you should clean your needles weekly as part of your other regular brewer maintenance.
Maintaining your Keurig (beyond the needles)
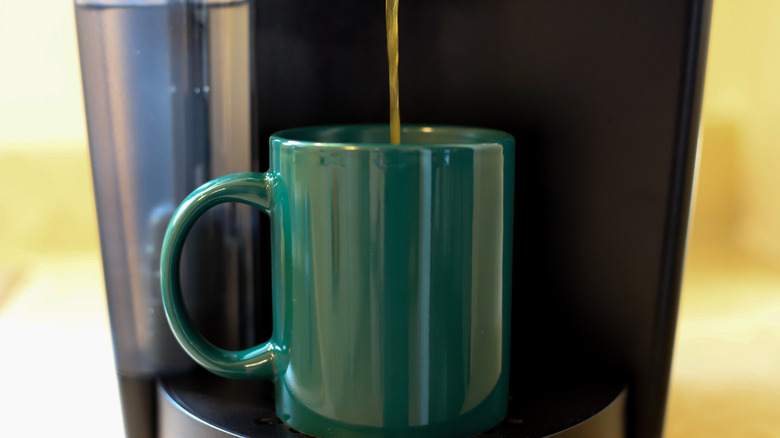
If you haven't been keeping up with this, don't panic — it's not overly complicated. On a daily basis, it's a good idea to wipe down the surface and drip tray of your Keurig to remove any splatters and standing water. Coffee expert Brian Mounts' YouTube channel, Top Off My Coffee recommends running a water-only cycle once a day to rinse the machine and prevent coffee ground buildup.
Beyond this, your Keurig will need a deeper cleaning, which includes a descaling, about every three months. You can use either a descaling solution or diluted white vinegar. If you opt for vinegar, make sure it is diluted properly, as overly strong vinegar can leave behind an unpleasant taste that the standard water cycle afterward may not clear. Descaling gets rid of calcium deposits and other grime that naturally accumulate in coffee makers. As a final step, take your Keurig apart and wash all of the detachable parts in warm, soapy water before drying. Oh, and of course, don't forget to clean those needles.