How To Use A Whetstone Without Ending Up In The ER
We may receive a commission on purchases made from links.
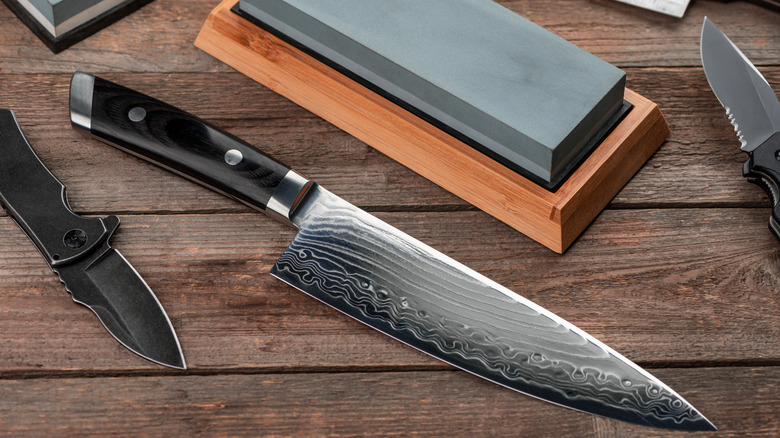
A blunt knife can have you squashing tomatoes instead of slicing them, and become a regular barrier to easy kitchen prep. It sounds counterintuitive, but a dull blade is more dangerous than a sharp one. Think about it — knife accidents are more prone to happen when you're using excessive force, which is what a dull knife will have you doing. Fortunately, when used properly, most knives stay sharp for several months, but when the time does come to sharpen that edge to its former glory, a whetstone (or a set of them) can be the best way to do it.
Mechanical sharpeners are easier to use but can remove more steel than is required to get that fine edge. Some sharpeners also heat the blade during the sharpening process, which can degrade the metal and reduce its lifespan. Using a whetstone properly requires some practice, but the results are significantly better. You also have the option to send your knives to a professional for sharpening, but if you've got the time and inclination, doing it yourself can be a very rewarding process. Just don't start practicing with your most expensive kitchen knife — start on something cheap (almost disposable) and work your way up to it.
As is always the case with sharp objects, there are some hard-and-fast DOs and DON'Ts to ensure safety. Using a whetstone requires firm but gentle pressure and long, even strokes, so minimizing any sharp movements (no pun intended!) and having a stable workspace can help mitigate potential mishaps.
Get started using whetstones
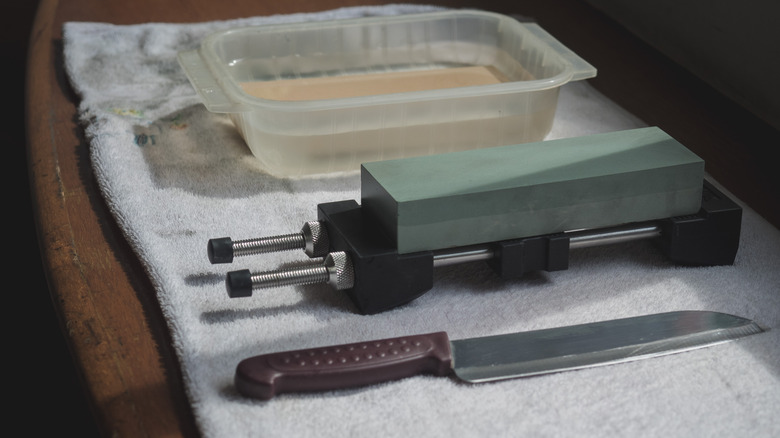
You'll need at least two whetstones of different roughness — a coarser, low-grit one (around 1000) to shape the blade's edge, and a high-grit stone (around 2000-3000) for finer honing. Stones must be submerged in water for about 45 minutes before being used; otherwise, they won't be properly lubricated to ensure good sharpening, and can even dry out and chip.
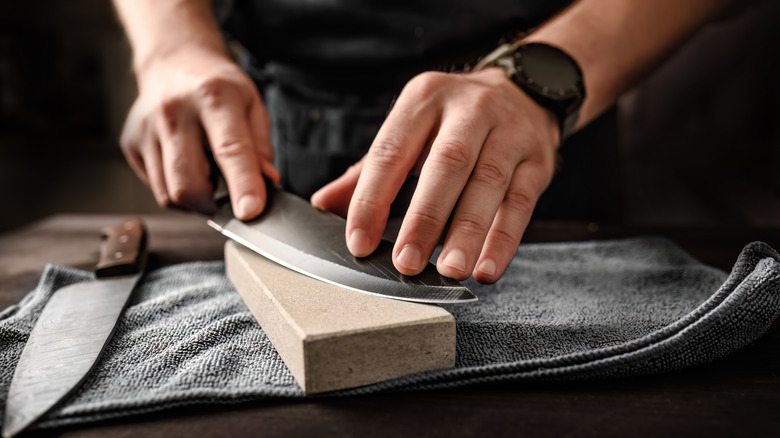
The blade must be positioned at a 15 to 20-degree angle to the stone (there are what are known as angle guides to help with this). Start by placing the heel of the knife on one end of the whetstone and slide it along it so that the blade's tip is in contact with the stone by the time you reach its opposite end. The number of strokes depends on factors like the grit and the amount of pressure used. So, after about 20 to 40 strokes, start looking for the visual signs.
You'll notice a fine sliver of metal (somewhat like a fingernail) forming along the direction of the edge that is being sharpened. This is called the burr, and it is an essential sign to look for when using a whetstone. Once you have an even burr along the edge, it's time to flip the knife and sharpen the other side. The burr is eventually removed, and once the blade is sufficiently sharpened, you can finish the process with a steel honing rod or leather strop to give the edge a finer, even polished finish.
Knife sharpening and whetstone safety
You may be excited to get down to putting that blade to stone and seeing how sharp you can make it, but take the time to follow safety protocol. Always sharpen knives on a stable and level surface and ensure that your whetstone is placed firmly — you can get a whetstone holder or put a damp towel under the stone. Set the stone perpendicular to the counter's edge so you can pull or push the knife's edge along the stone's length. Also, if you're starting out, consider using a rubber thimble.
Make long and even strokes without pressing the blade down too hard on the stone. This way, you can focus on holding the knife at the right angle and keeping your hands properly positioned away from the sharp side. You'll have to use your thumb when checking for the burr. When doing so, always run your thumb perpendicular to the blade and never parallel to ensure you don't get cut.
Once you're satisfied with the blade's sharpness, hone it and give it a quick wash and wipe to get rid of any stray bits of metal. You cannot sharpen ceramic knives in the same way, as they are too brittle and may snap. Finally, remember that your newly sharpened knife will be much more efficient at slicing things, so use it carefully as you enjoy carving meat slices with your new kitchen saber.


