14 Unexpected Ways You Should Be Using Your Potato Masher
We may receive a commission on purchases made from links.
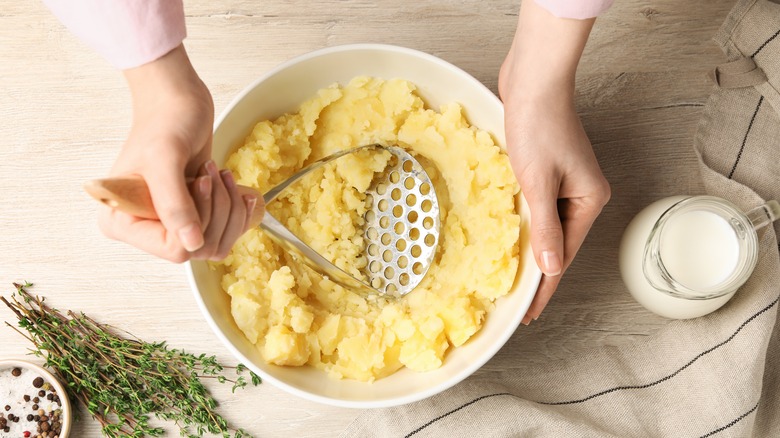
Mashed potato is one of the ultimate comfort foods. From a quick and easy starch that bulks out a midweek meal to a vital component of the Thanksgiving feast, it's hard to think of a more iconic potato prep. If you're a regular in the kitchen, you no doubt rely on your trusty potato masher to whip up a smooth, creamy batch of mash whenever the mood strikes. However, even if you're a potato pro, there's a high chance you're actually underusing this handy kitchen tool.
Potato mashers are, obviously, excellent at one thing — mashing potatoes — but there's a whole host of other ways you can put them to good use. From whipping up the perfect dip for game night to preparing your summer cocktails, potato mashers are kitchen utensils that should not be overlooked. We take a look at 13 creative ways to make the most of your potato masher.
1. Mash up avocados for tasty guacamole
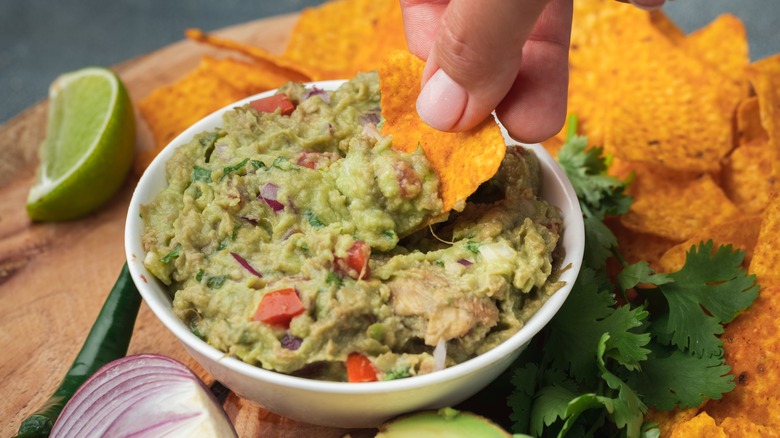
Originating in Mexican cuisine, guacamole is one of the tastiest condiments to whip up at home. Made from a mix of mashed avocados, chopped tomatoes and onions, cilantro, salt, and a squeeze of lime, guacamole can be used as a burrito topper, a chip dip, or spread on toast. Ripe avocados should be easy to mash — if you want to know how to pick the best avocados at the grocery store, look out for ones that are slightly soft all over and that have a dark, even skin color.
While mashing ripe avocados with a fork works fine, using your potato masher can speed things up. The large surface lets you mash more than one avocado at a time, while the flat blade helps push the avocado into the base of your dish, rather than squeezing up the sides, which tends to happen with fork mashing. You can also put more weight behind your potato masher by pressing down with both hands when you want to get your guac to a smooth, silky consistency.
2. Muddle ingredients for a cocktail pitcher
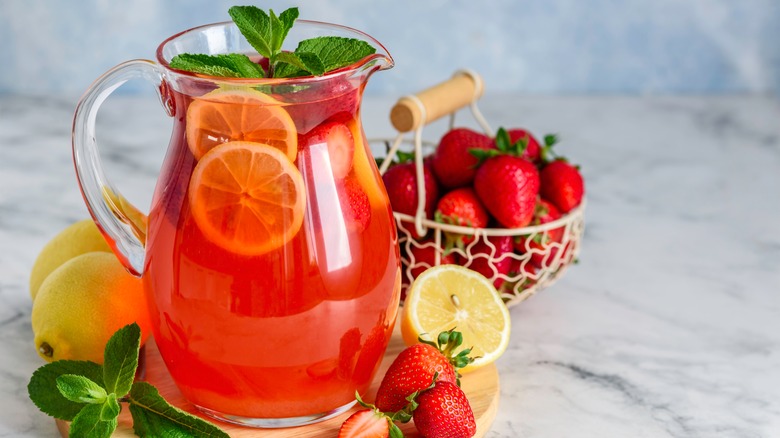
Nothing says summer like a refreshing cocktail pitcher at a garden party or a family BBQ. Many go-to summer cocktails, like caipirinhas, mojitos, and mint juleps, include ingredients that should be muddled or smashed before the rest of the drink is built around them. Muddling lime wedges and sugar for a Brazilian caipirinha helps release flavors from the lime skin and creates a coarse sugar syrup to pour your cachaça over. Muddling mint leaves for a mint julep – a classic cocktail to sip at the Kentucky Derby – has a similar effect and helps release the mint oils for a fresher taste and aroma.
Muddlers are usually found behind the bar in cocktail places and have a long handle and a grooved base, like a mini masher, at one end. Bartenders will usually add their ingredients to a cocktail shaker to muddle — this makes enough for one or two drinks at a time. If you're making cocktails for a group at home, you can skip this step and put your ingredients into a jug with a wide brim.
Use your potato masher as a handy, substitute muddler to crush down your herbs, citrus wedges, sugar, or berries before pouring your alcohol over the top and adding ice. Once you've done this, give your cocktail a quick stir with a spoon to help the flavors blend thoroughly.
3. Whip up a creamy egg salad
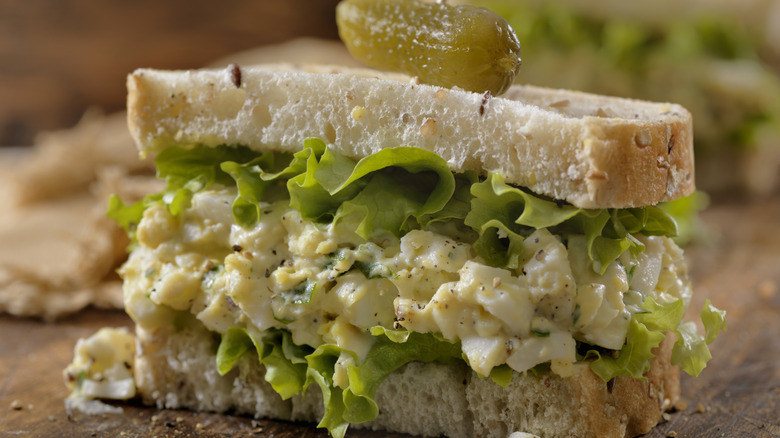
Quick and easy to make at home, egg salad only requires a handful of ingredients. It's a perfect lunchtime snack and can be prepped in advance — hard-boiled eggs last longer in the fridge than you might think and can be good up to a week after cooking. To make egg salad, hard boil and peel your eggs before leaving them to cool, then mash them with mayonnaise, mustard, salt and pepper, and fresh green herbs, like chives, cress, or scallions. Some egg salad recipes also call for paprika to give your eggs a kick.
While you can mash your eggs with a fork, a potato masher is a brilliant alternative. The holes in some potato mashers will help cut the eggs into small, even chunks, giving you a classic egg salad consistency. Because of the potato masher's large flat base, you can also mash several eggs at once. To keep your egg salad moist without adding too much mayo, aim for eggs that are just over soft-boiled and mash them while they are still warm to make the most of the slightly runny yolks.
4. Mixing cold butter into pastry or biscuits
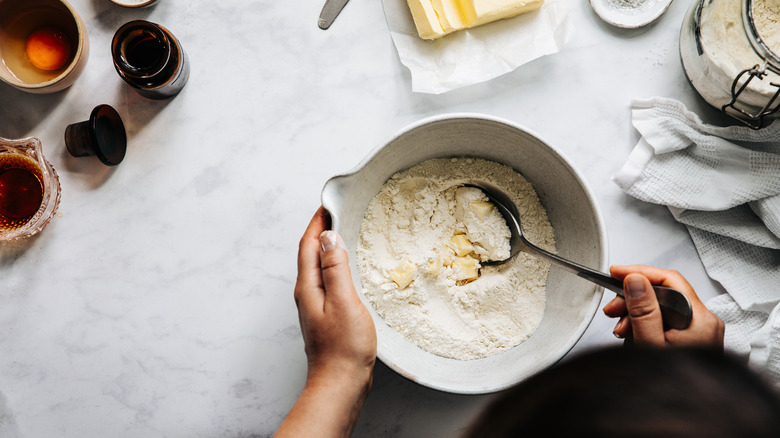
Mixing cold butter into flour without a pastry cutter can be a bit of a battle but many recipes, such as traditional biscuits or fruit cobbler toppings, work best if the butter is chilled when it's added. These cold butter lumps help the dough hold its shape while it cooks and give it a soft, flaky texture, as the butter evaporates into air pockets throughout the dough while it cooks.
Using a potato masher as a pastry cutter is surprisingly effective and can help you get that signature biscuit texture. The masher's broad base means it's easier to press down forcefully, making it less work to break up the firm fat. Meanwhile, the small holes in the potato masher's surface naturally cut the butter into chunks, without totally flattening it into the mixture or overworking the dough. If you feel like experimenting with different methods, you can achieve a similar effect by shaving butter into your mixture with a box grater.
5. Make unforgettable refried beans
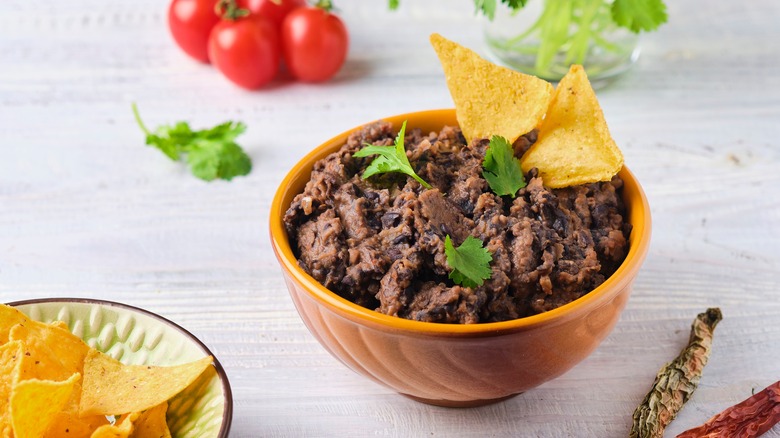
Refried beans are a deliciously smoky and savory Mexican dish you can serve alongside carnitas or inside burritos. To achieve the perfect consistency, cook beans until soft and then refry them in a pan with leftover stock or bacon fat. You can season your beans with finely minced onions, garlic, and spices. Although whole, dried beans are usually standard for traditional refried bean recipes, canned beans can be refried too and will save you time.
Once you've cooked your beans on the hob, you'll need something to lightly mash them with. Mashing gives your refried beans a slightly grainy, mulched texture. This is where your potato masher comes in. Use a wide, shallow pan to fry your beans, and while they cook, work your way over the surface with the potato masher.
Press down firmly enough to pulp the beans but gently enough that you're not splashing fat all over your stovetop. This light pressure will split the already softened skins on the beans and smoosh down the bean body to give you an ultra-creamy mash. You can also use a food processor to mix your beans, but a potato masher is better if you don't want a completely refined texture.
6. Thicken your winter soups
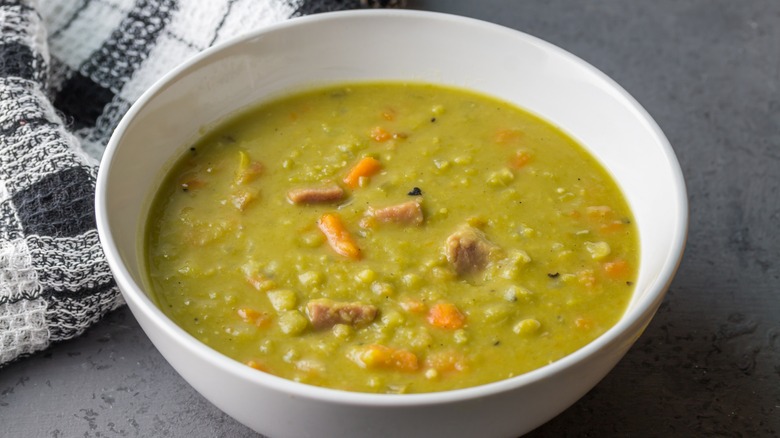
Thick and chunky soups are a cozy winter treat — but how do you achieve the perfect consistency without turning your soup to puree in the blender? This is where your potato masher comes in. If you're making a soup with whole vegetables — like carrot and squash or leek and potato soup — it can take a long time for the vegetables to cook down and start to break apart. You may not want to wait that long to enjoy your lunch.
Without any mashing at all, though, soups can end up more like a broth with vegetable chunks floating in it — still tasty but not the thick, warming consistency you dream of when preparing wintery soup. Putting your soup through a blender or food processor will make it completely smooth and can be intimidating if you're worried about splattering hot soup across your kitchen.
Gently mulching your cooked soup with a potato masher will break down the softened veg and thicken the overall texture, leaving you with a hearty mash that can be kept in the fridge for several days. Another handy trick to speed up soup preparation is to roast the vegetables before you add them to your broth. This method also brings out sweet flavors by lightly caramelizing the veg.
7. Make a cheesecake base

With its smooth, creamy topping and sweet, crumbly base, cheesecake is one of the most tempting desserts you can make at home. Traditionally, the cookie base for a classic New York-style cheesecake is smashed graham crackers. To start your cheesecake base, you'll want to get your hands on around 15 crackers and crush them until you have a fine, even mix made up of small crumbs.
You can use your potato masher to break the crackers up by spreading them out in your baking tray or in a wide, large-based bowl. This is a great trick if you like your cheesecake base slightly crunchy with sweet cookie nuggets to add texture. If you're not a fan of graham crackers or you want to use a gluten-free alternative, other types of plain cookies work just as well. You can also use your potato masher to flatten down your cookie-crumb base before pouring in your topping.
To make a New York-style cheesecake topping, you'll need to mix white sugar, flour, and cream cheese and then incorporate a small amount of sour cream, eggs, and flavorings, like lemon juice and vanilla extract. This type of cheesecake is traditionally constructed in a cake tin and then baked in the oven or left in a hot water bath until the batter sets. You can also make no-bake cheesecakes by mixing sugar, cream cheese, heavy cream, and sour cream and leaving out the eggs. Non-bake cheesecakes tend to have a lighter texture.
8. Perfect your homemade apple pie
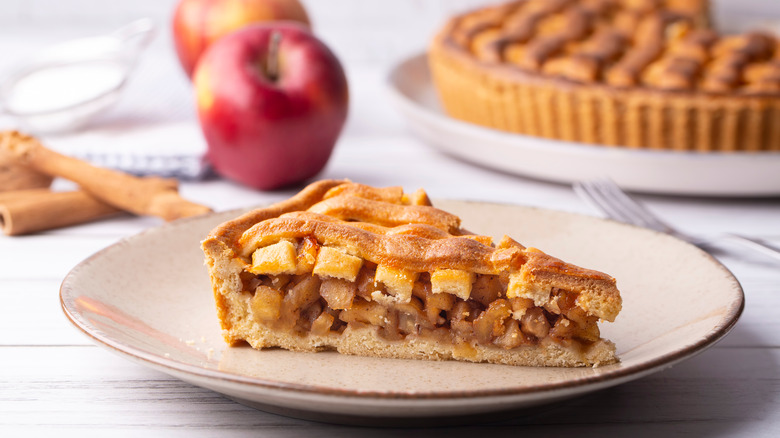
Cooked apples are soft enough to break down with a potato masher and can be used to make a range of desserts and sauces. While some apple pie recipes call for the fruit slices to be baked inside the pastry crust, you can also whip up the filling separately. This allows you to prep for your pie a few days in advance — cooked apples will last 4-5 days in the fridge and you can add lemon juice and use an airtight container to prevent them from turning brown. Your potato masher should break down cooked apple slices into nice, even chunks without turning them into puree.
That said — if you want to make apple sauce, you can also use your potato masher for this. Like apple pie filling, apple sauce requires a mixture of sliced apples, sugar, and optional spices like cinnamon. Boil then simmer your ingredients in water until the mixture has reduced and the apples are soft, then pulp them down with your masher until you get your preferred consistency.
9. Break up ground meat
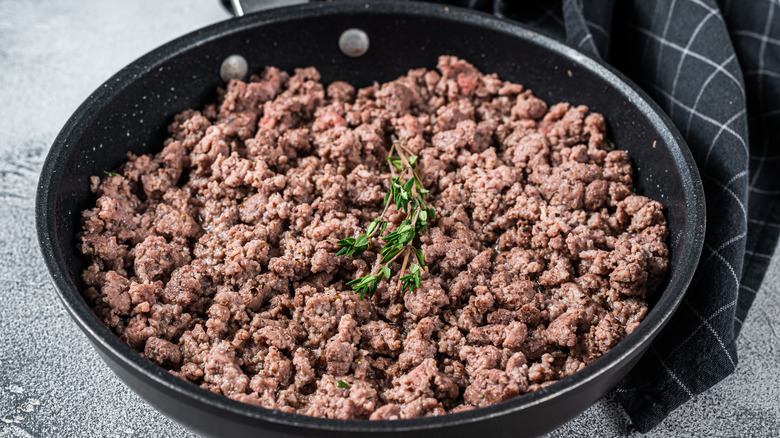
One of the top mistakes everyone makes when cooking lasagne, Bolognese, or beef chili is not browning their meat properly before mixing it into the sauce. Browning or searing meat activates amino acids in the protein and helps release the flavors and appetizing smells. If you don't brown your meat, it's easy to end up with a bland, chewy texture throughout your dish. The best way to brown ground meat is to brush it with oil, place it in a pan over moderate heat, and break it into pieces. This allows the ground meat to brown evenly throughout and not just on the outside of the block.
If you've ever tried breaking up a block of ground meat with a wooden spoon or fork, you know it's a bit of a chore and doesn't yield great results. Often the chunks are too big meaning that parts of the meat miss the browning process. In contrast, a potato masher is an excellent tool for breaking up meat and can be your key to truly mouthwatering meals. Unlike a spoon, which cuts vertically through the meat, a potato masher spreads the meat across the pan surface while the holes break up the block into regular-sized chunks.
10. Elevate your burger buns

Swiping some butter on the insides of your burger bun and toasting it on the grill can elevate your burgers. The melted butter gives the buns a moist, rich flavor, while the added toasty crunch highlights the juicy softness of the patty. A slightly toasted burger bun will hold together better, allowing you to pile the toppings and sauces high.
You can toast your burger buns on the grill or in a pan on the stove. Whichever way you choose, your potato masher can be a handy tool. Use the flat surface of the masher to lightly press the bun down onto the heat to get a nice, even sear that goes right out to the edges.
Hold it for about thirty seconds to one minute. Make sure there's enough butter in the pan or on the buns so that no dry bits will stick, but don't add so much that the buns become wet and soggy.
11. Master homemade hummus
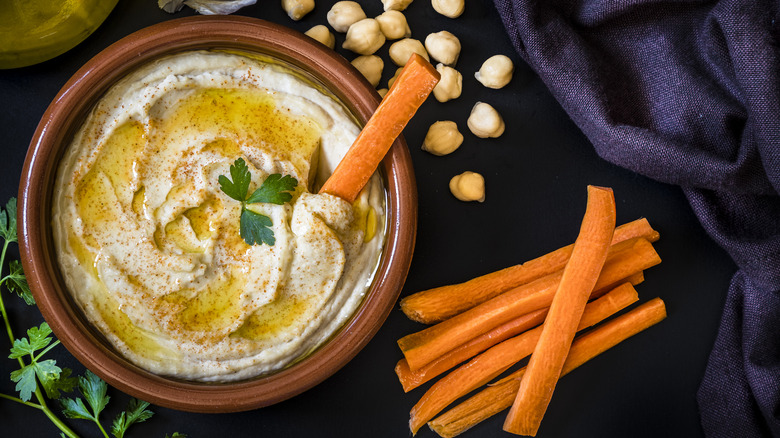
Hummus is a popular Middle Eastern dip made using cooked chickpeas and tahini — sesame seed paste – and flavored with garlic, oil, and lemon juice. It's traditionally served with Middle Eastern dishes, like pita bread and falafel, and can be a great light lunch eaten with carrot sticks, celery, or spread on crackers. While you can make homemade hummus in a food processor, using a potato masher will give you a slightly coarser mix, adding some texture to your dip.
The key to making homemade hummus is ensuring that your chickpeas are fully cooked and soft enough to easily break down. Peeling off the skin after cooking will help with this. If you're using dried chickpeas, you'll need to soak them overnight and boil them for around two hours. Canned chickpeas work too and only need around 20 minutes to cook.
It's a good idea to slightly overcook chickpeas for hummus as this won't damage the flavor and will make them easier to mash. You can also pop them in the microwave for 30 seconds after cooking to soften them further.
12. Create mouth-watering tomato sauces
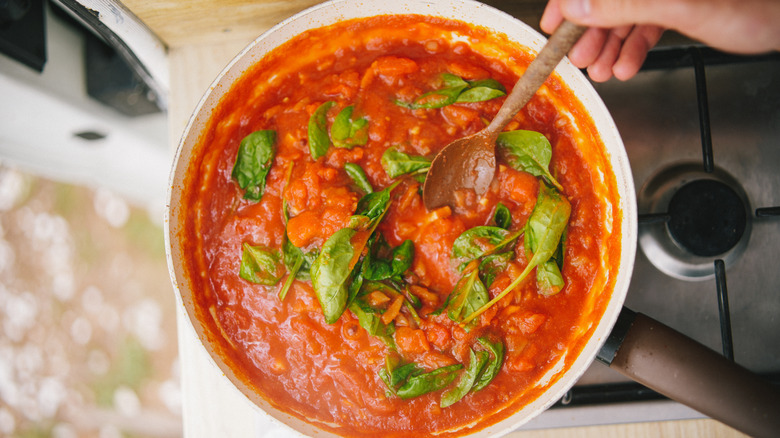
Working your cooked tomatoes with a potato masher can be an important step in making your own pasta sauce, especially if you're using whole canned tomatoes in your recipe. Whole canned tomatoes have a sweet, rich flavor that can enhance a tomato sauce. However, whole tomatoes can be difficult to break down with a fork, even when fully cooked. If you've made a pan of tomato sauce and want to mix it with a blender or food processor, go over it with your potato masher first to chop up the tomatoes.
This will give you a finer, smoother blend that will evenly coat noodles or pasta. Your potato masher is also a great tool if you like a chunky tomato sauce or if you make your sauce with fresh tomatoes. Wait until the tomatoes are fully cooked — the longer you cook them, the sweeter they'll be — before gently mulching them down to create a thick, chunky sauce.
13. Puree ripe bananas for banana bread
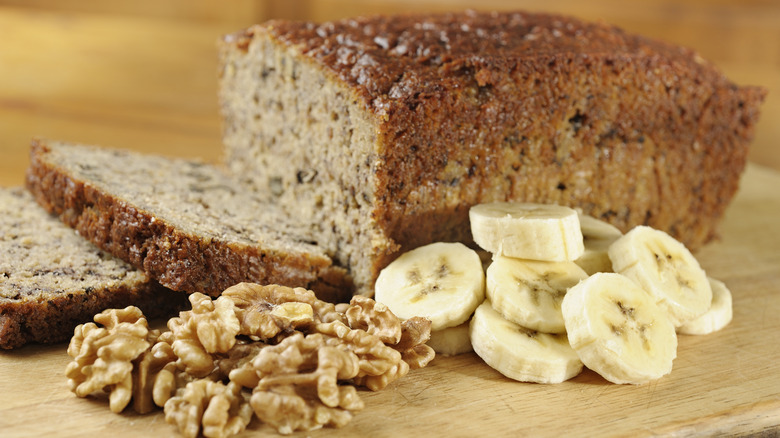
Banana bread is the perfect mid-morning snack and is a fun, low-maintenance recipe. You can go as plain or as fancy as you like with frosting, decorations, or added ingredients. Banana bread is also rich in potassium — if you're wondering how much potassium is really in a single banana, it's around 422 milligrams — and vitamin B6.
The key mashable ingredient in a banana loaf is, you guessed it, bananas. When your bananas are fully ripe — meaning they are soft with yellow skin and a few dark spots — a potato masher is the perfect tool to grind them into a puree. If you're making a substantial batch, a masher will let you tackle several bananas at once and will provide smoother and more even mashing than a fork. Banana bread also works well when frozen and can last about four days in an airtight container and about one week in the fridge.
14. Crush nuts for ice cream or salad toppers
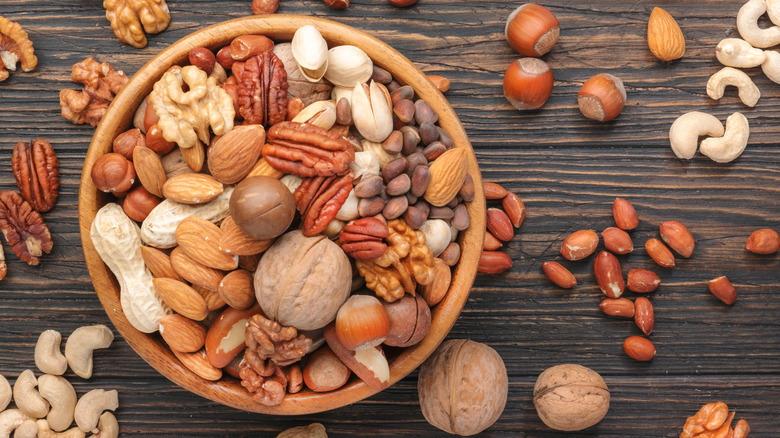
This tip only works with potato mashers that have a wide, flat head. Wire masher won't have the surface area you need to pulverize hard ingredients like nuts. However, if you do happen to have one of these bad boys at home, you can put it to good use. Rocking the masher forcefully over walnuts on a flat surface is a great way to break them up into coarse lumps.
You can use chopped walnuts to flavor banana bread or coffee cake or use them to top salads. In a pinch, your potato masher can also be used to mash up peanuts, although this may take a little more oomph, since peanuts are smaller and might squeeze through the masher holes. Use this tip when you don't need finely ground peanuts — for example, when you want lightly crushed nuts to sprinkle on Pad Thai or you want to add some crunch to salted caramel sauce.